In this article, I will discuss in detail how I upgraded my current project to cypress 10. I would also highly recommend you to go through the official migration guide by cypress before, if you are planning to do an upgrade.
Step 1: Install Cypress 10.
1 | npm install --save-dev cypress@10.1.0 |
Step 2: After successful installation when you open the test runner for the first time, you should see a screen like this:
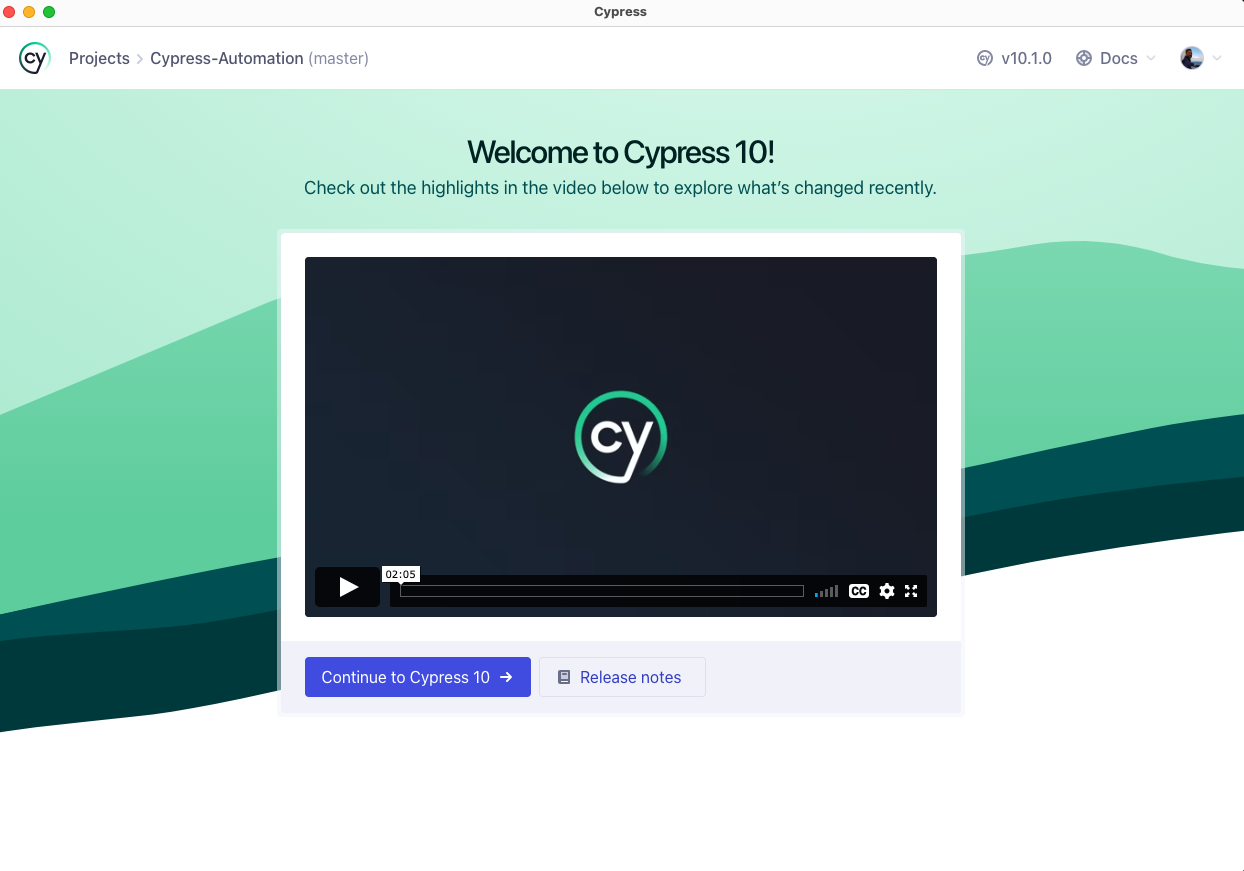
Step 3: Next, Click on the Continue to Cypress 10 button and this will open the Migration Helper screen.
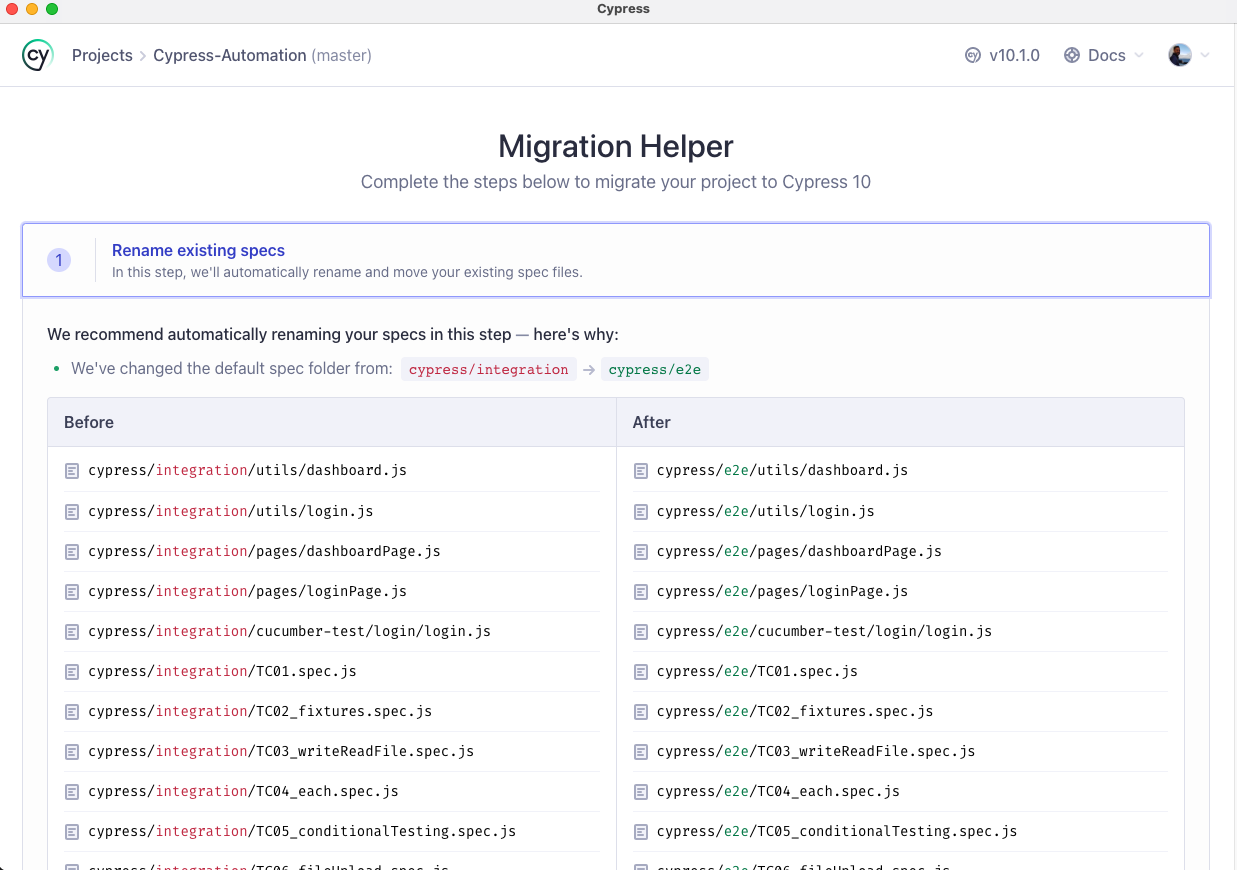
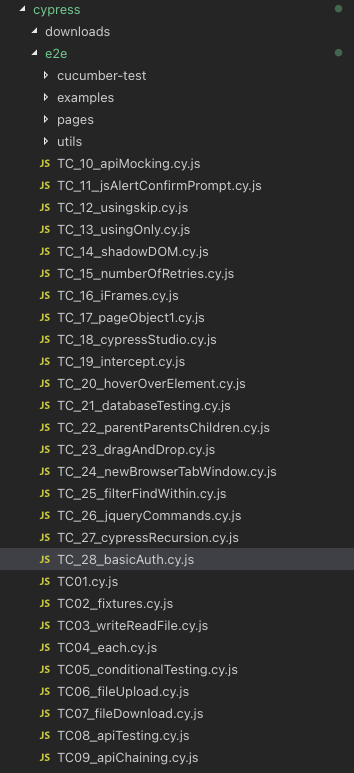
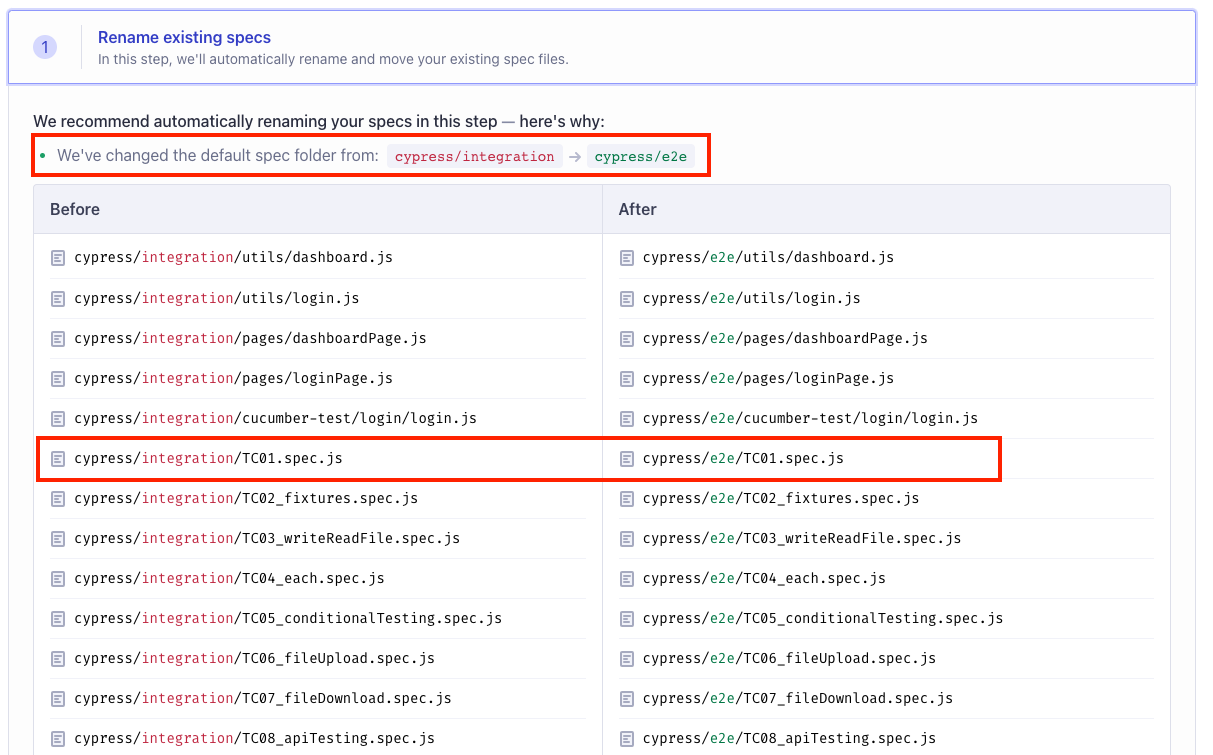
Step 4: In the Migration Helper screen the first step is Renaming Existing specs. Here two things will happen, first the integration folder will be renamed to e2e. Second, the test suite extensions will be renamed from spec.js to cy.js
As you can see above in the After section the file names are not shown as cy.js because the migration helper is not able to detect all the file extensions properly. Hence I manually did the changes. So here clicking on the Rename the specs for me button only changed the folder names.
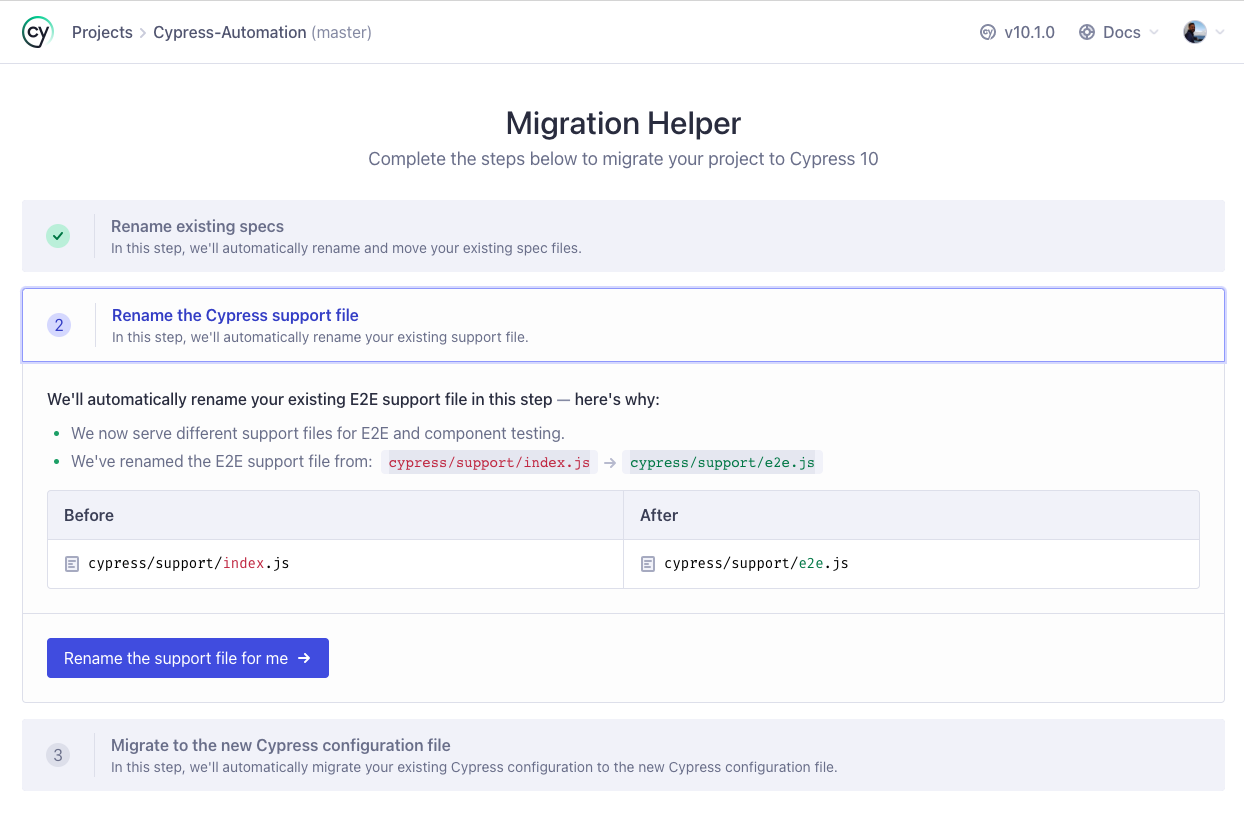
Step 5: Next step in the migration process is to rename the cypress/support/index.js to cypress/support/e2e.js. To do this click on the Rename the support file for me button.
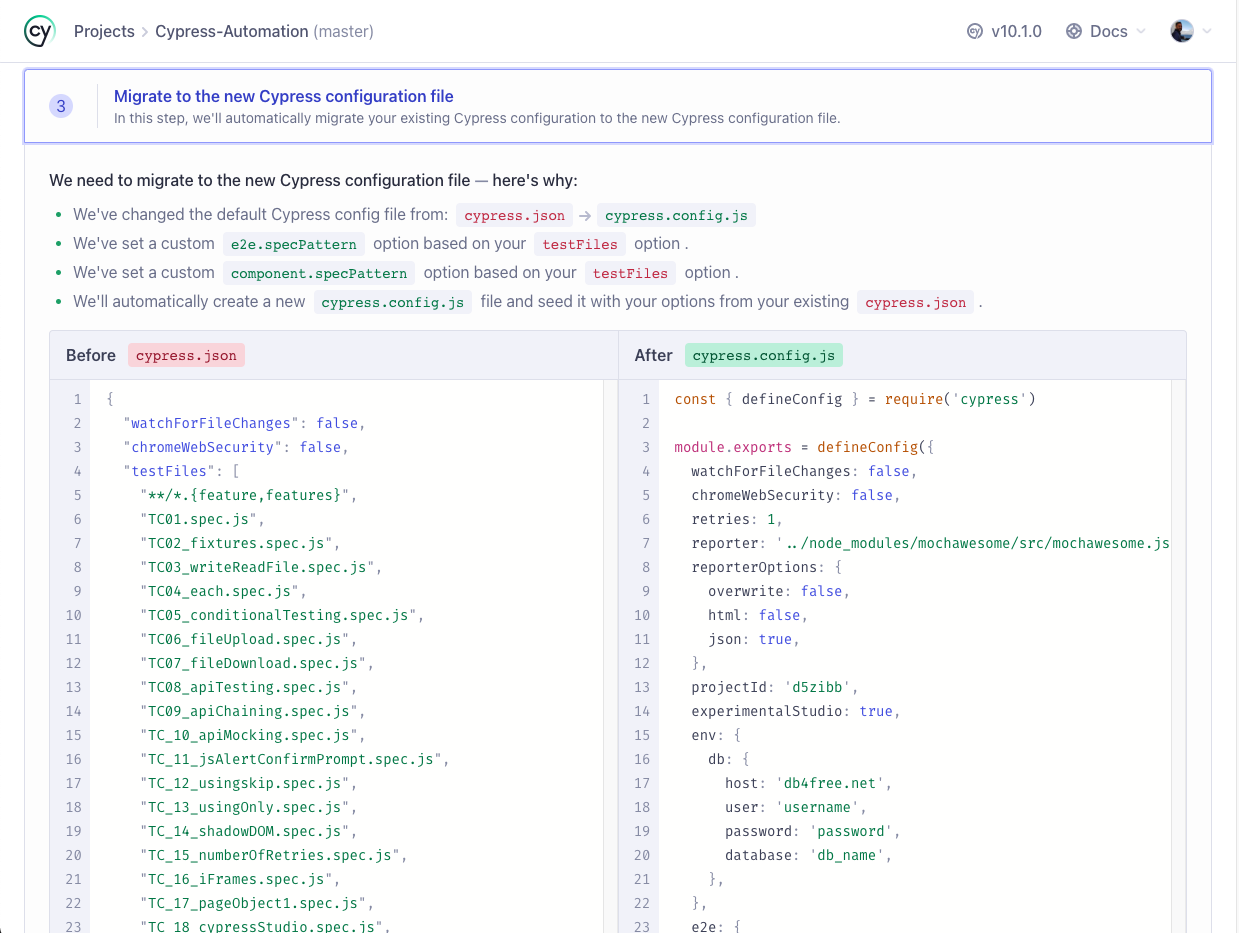
Step 6: Next, and the final step is to migrate the existing cypress.json file to cypress.config.js. To do this click on Migrate the configuration for me button.
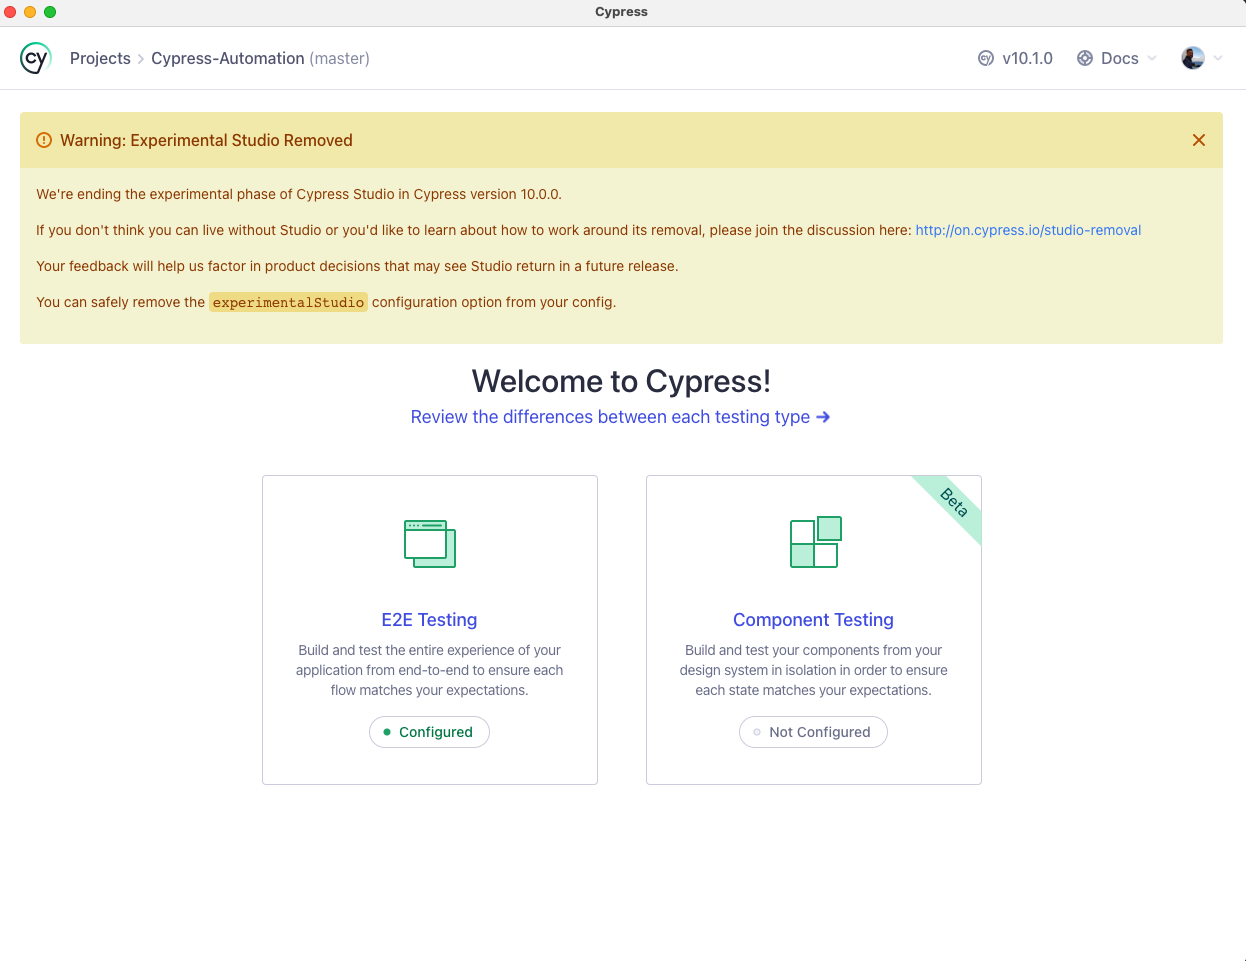
Step 7: After all the three steps, we should see the below screen with E2E Testing as configured and Component Testing as not configured.
Also with v10, cypress has removed the experimental feature cypress studio, so in case if you want this feature back in future releases you can voice your opinion here.
Step 8: Next, after clicking the E2E testing tab we get the Choose a Browser window.
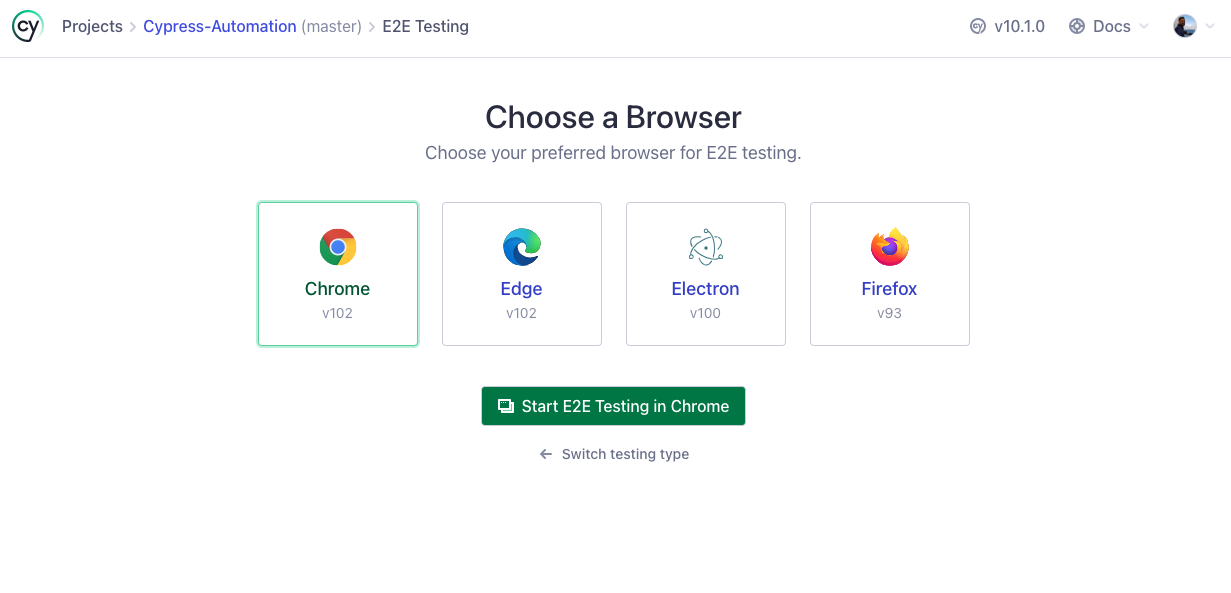
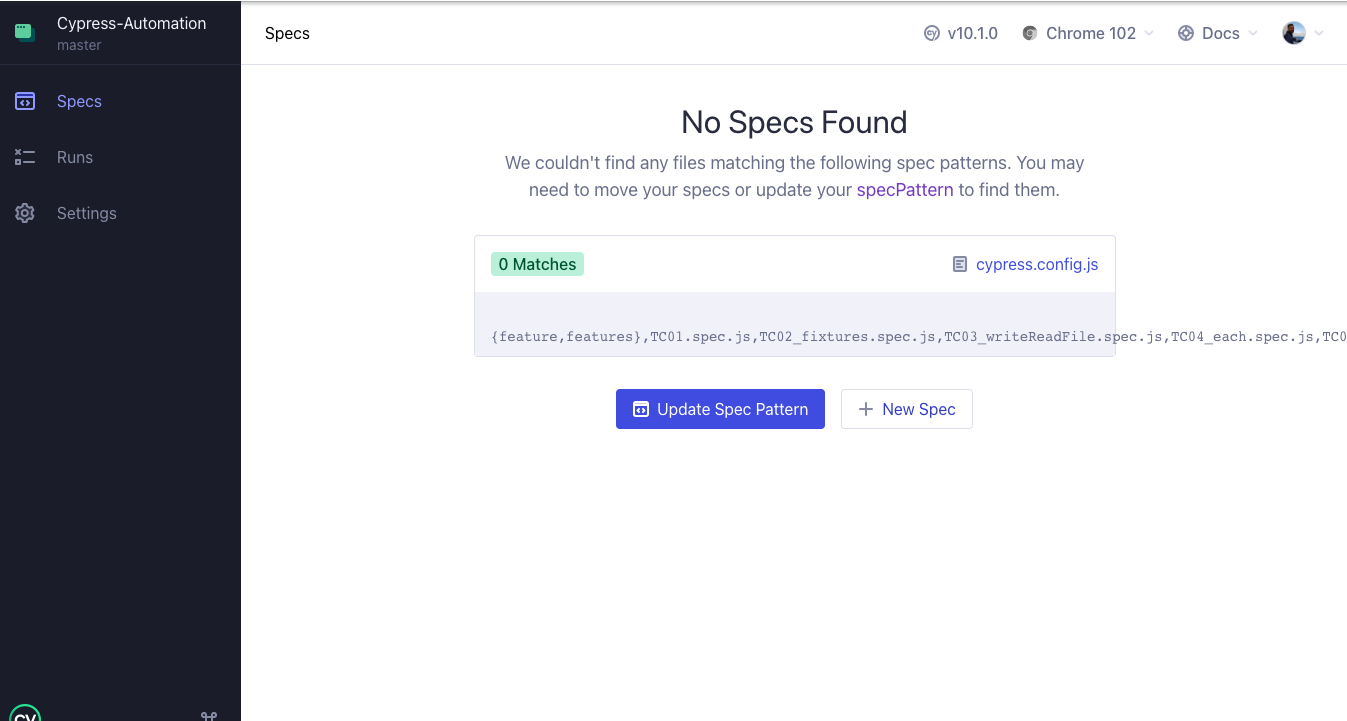
Step 9: On selecting the browser as Chrome and clicking the Start E2E Testing in Chrome button, we get this.
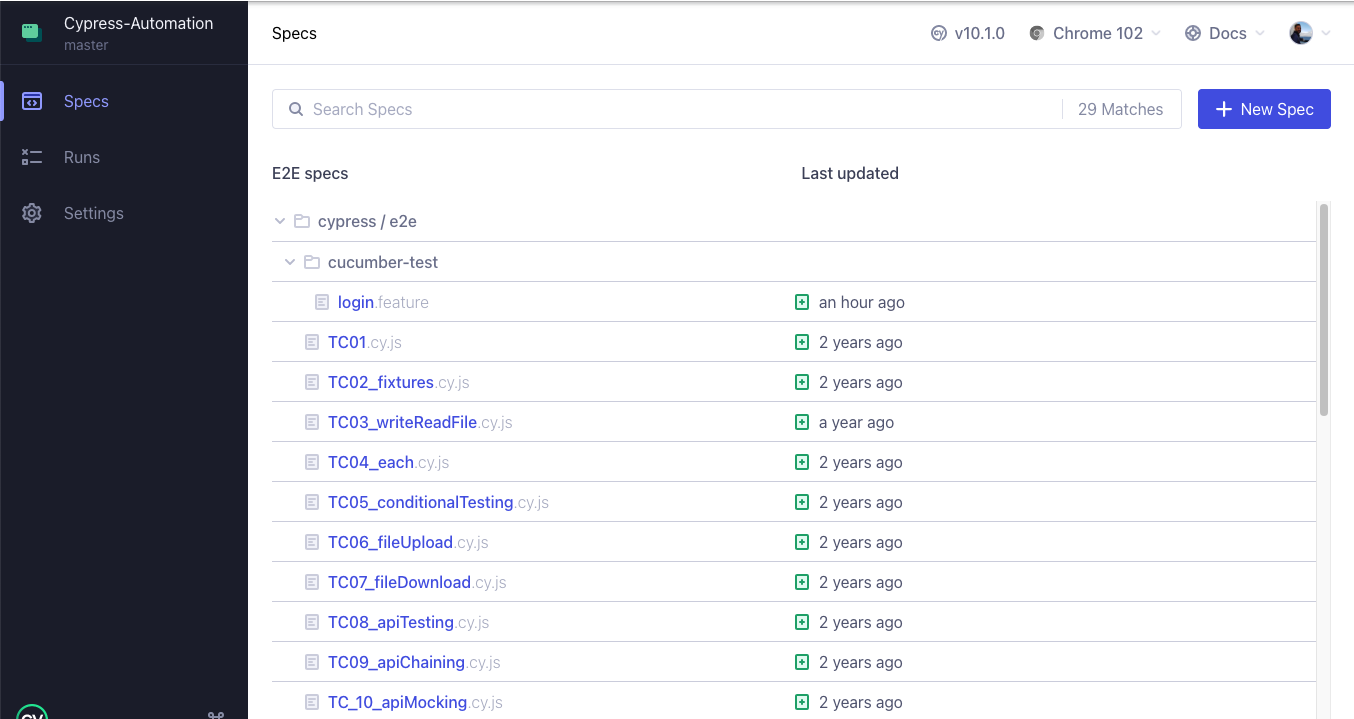
This is happening because earlier the test suite files were renamed from spec.js to cy.js, so to make sure the test runner reads the new file type correctly, we will have to update the specPattern in cypress.config.js to [“**/*.feature”, “cypress/e2e/**/*.cy.{js,jsx,ts,tsx}”]. Upon updating we should successfully see the list of tests.
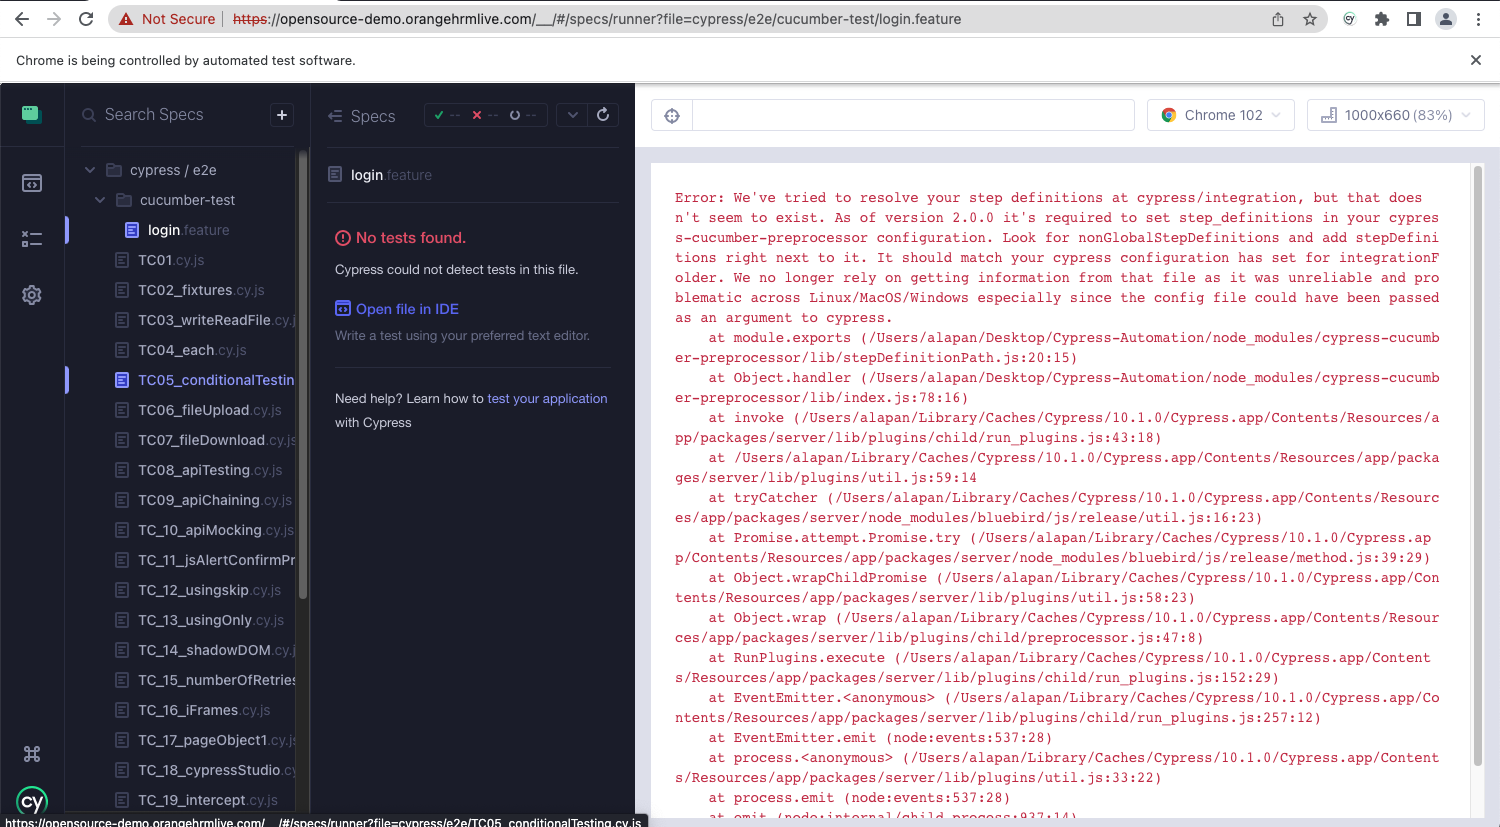
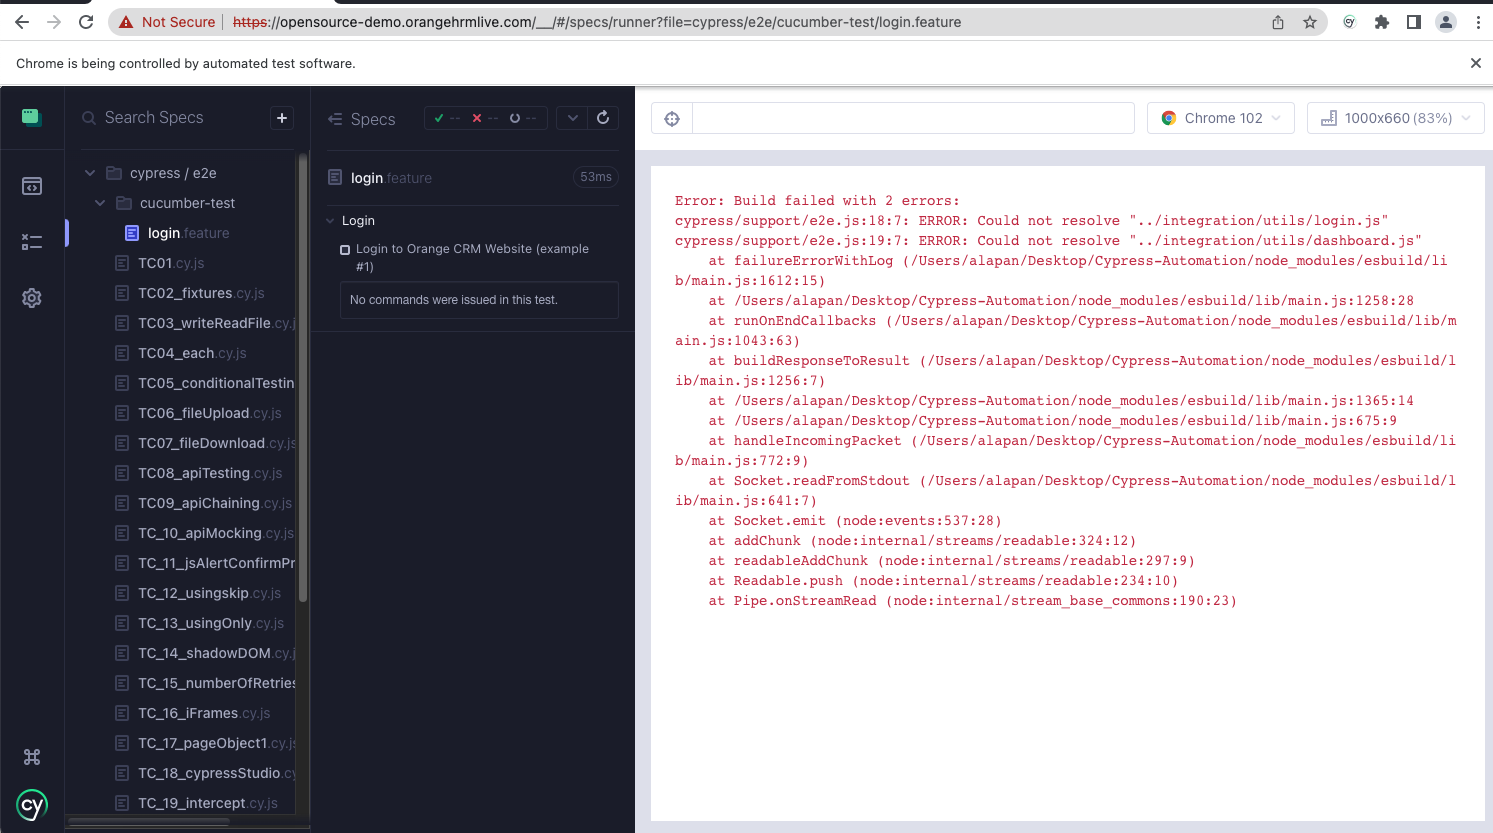
Step 10: Now, lets execute the cucumber test login.feature. Upon doing that, we get this error –
To fix this, we will be doing the following changes:
10.1 Uninstall ‘cypress-cucumber-preprocessor’ plugin by using the command npm uninstall cypress-cucumber-preprocessor.
10.2 Next, install the @badeball/cypress-cucumber-preprocessor using the command npm install -D @badeball/cypress-cucumber-preprocessor.
10.3 Next, install two more dependencies ‘@bahmutov/cypress-esbuild-preprocessor’ and ‘@esbuild-plugins/node-modules-polyfill’ using the commands npm install -D @bahmutov/cypress-esbuild-preprocessor and npm install -D @esbuild-plugins/node-modules-polyfill.
10.4 Next, go to cypress/plugin/index.js and remove the following code which was previously used for the old cypress-cucumber-preprocessor plugin.
1 2 3 4 5 6 | //For cucumber integration const cucumber = require('cypress-cucumber-preprocessor').default module.exports = (on, config) => { on('file:preprocessor', cucumber()) //For cypress cucumber preprocessor } |
And add the following:
1 2 3 4 5 6 7 8 9 10 11 12 13 14 15 16 17 18 19 | //For Cucumber Integration const createEsbuildPlugin = require('@badeball/cypress-cucumber-preprocessor/esbuild').createEsbuildPlugin const createBundler = require('@bahmutov/cypress-esbuild-preprocessor') const nodePolyfills = require('@esbuild-plugins/node-modules-polyfill').NodeModulesPolyfillPlugin const addCucumberPreprocessorPlugin = require('@badeball/cypress-cucumber-preprocessor').addCucumberPreprocessorPlugin module.exports = async (on, config) => { await addCucumberPreprocessorPlugin(on, config) // to allow json to be produced // To use esBuild for the bundler when preprocessing on( 'file:preprocessor', createBundler({ plugins: [nodePolyfills(), createEsbuildPlugin(config)], }) ) return config } |
10.5 Next, in the package.json remove:
1 2 3 | "cypress-cucumber-preprocessor": { "nonGlobalStepDefinitions": true } |
and add the following:
1 2 3 | "cypress-cucumber-preprocessor": { "stepDefinitions": "cypress/e2e/cucumber-test/**/*.{js,ts}" } |
This is done because most of the configuration options have been removed as a result of architectural changes and now there’s no distinction between “global” and “non-global” steps anymore. Steps are searched for using patterns and you can choose to include global steps or not.
10.6 Next, in the step definition file replace import { Given, When, Then } from ‘cypress-cucumber-preprocessor/steps’ with import { Given, When, Then, And } from “@badeball/cypress-cucumber-preprocessor” .
10.7 Next, when we try to run the cucumber test again we get this error. This is because in some of the import statements the word integration is still present. To fix this we need to update them to e2e.
10.8 Once that is fixed, we can see that the cucumber tests are executed successfully.
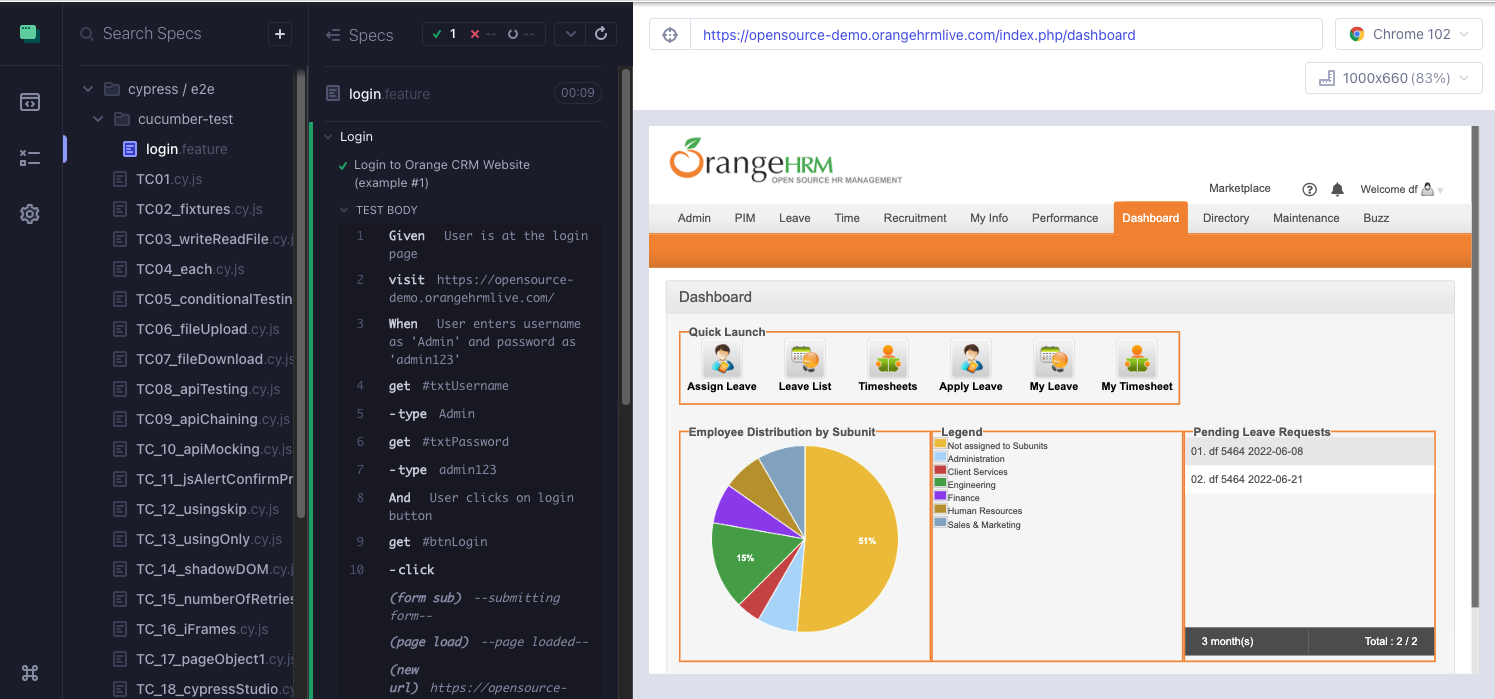
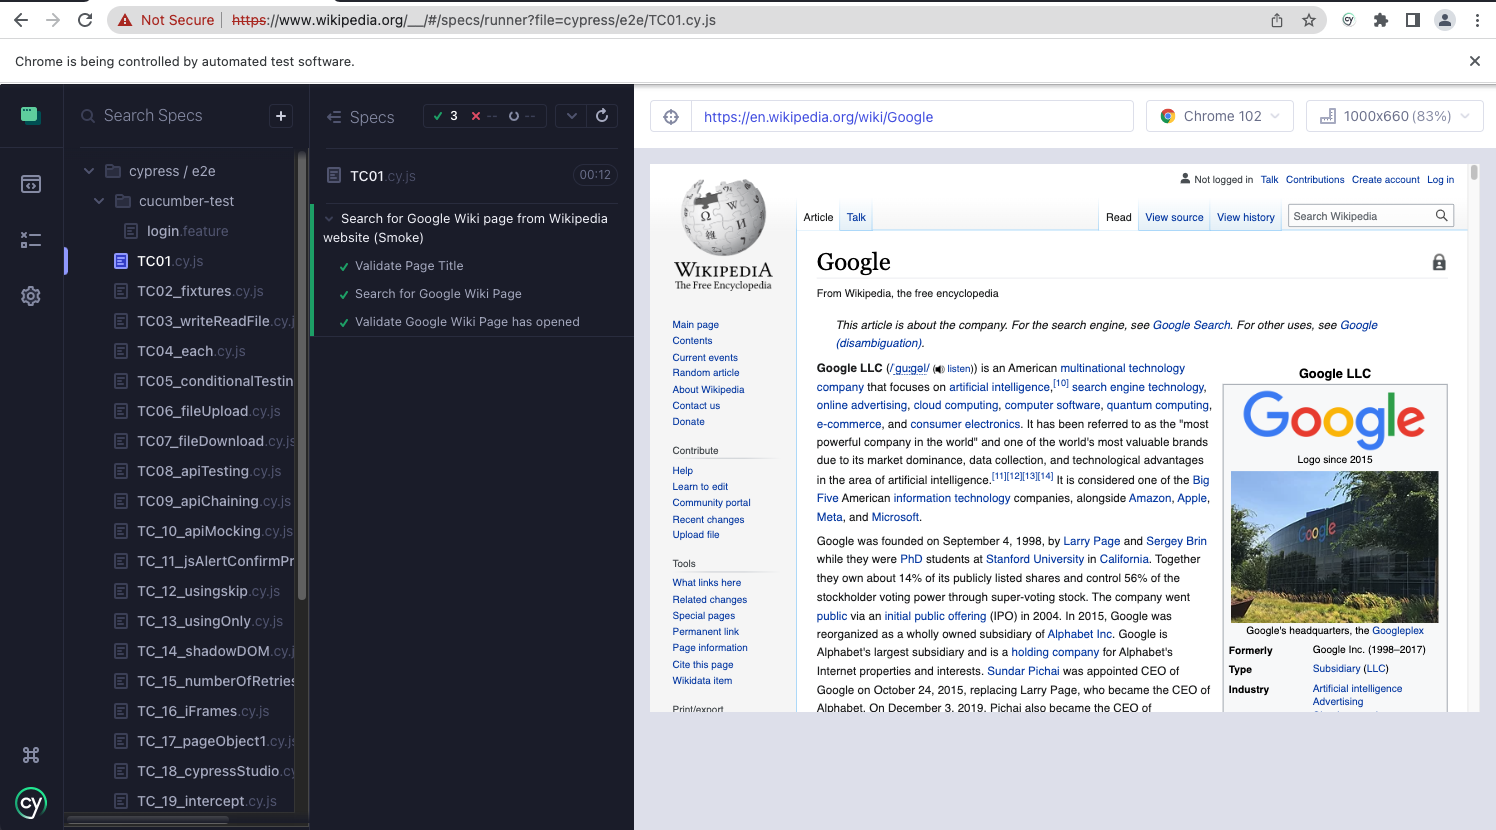
Step 11: Finally, lets execute a non-cucumber test to make sure other tests are also working as expected.
Note: In case after following all the steps under Step 10, if you are still getting errors, then update the Node JS to the current version. At the time of writing this article, the current version is 18.4.0.
Do check out 🙂
Github: https://github.com/alapanme/Cypress-Automation
All Cypress Articles: https://testersdock.com/cypress-tutorial/





Do we have news on the plugin “cypress-tags”? I’m not able to use it on Cypress 10.
Error:
You installed esbuild on another platform than the one you’re currently using.
This won’t work because esbuild is written with native code and needs to
install a platform-specific binary executable.
Specifically the “esbuild-darwin-arm64” package is present but this platform
needs the “esbuild-darwin-64” package instead. People often get into this
situation by installing esbuild on Windows or macOS and copying “node_modules”
into a Docker image that runs Linux, or by copying “node_modules” between
Windows and WSL environments.
If you are installing with npm, you can try not copying the “node_modules”
directory when you copy the files over, and running “npm ci” or “npm install”
on the destination platform after the copy. Or you could consider using yarn
instead which has built-in support for installing a package on multiple
platforms simultaneously.
If you are installing with yarn, you can try listing both this platform and the
other platform in your “.yarnrc.yml” file using the “supportedArchitectures”
feature: https://yarnpkg.com/configuration/yarnrc/#supportedArchitectures
Keep in mind that this means multiple copies of esbuild will be present.
Another alternative is to use the “esbuild-wasm” package instead, which works
the same way on all platforms. But it comes with a heavy performance cost and
can sometimes be 10x slower than the “esbuild” package, so you may also not
want to do that.