
In this article, we will discuss how we can upload a file in cypress.
Method 1: Using the cypress-file-upload node package. Let’s automate the below Test scenario:
1. Go to https://the-internet.herokuapp.com/upload.
2. Select a file and upload it.
3. After upload, validate that the file was successfully uploaded.
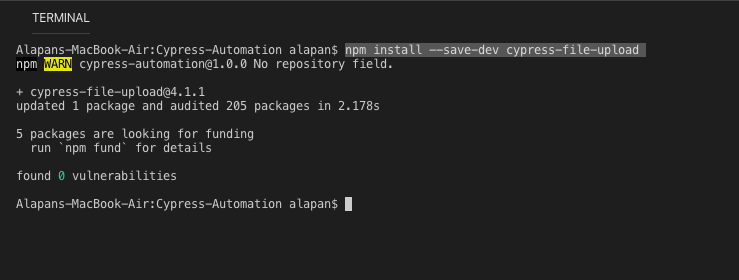
Step 1: Install the cypress-file-upload node package using the command:
1 | npm install --save-dev cypress-file-upload |
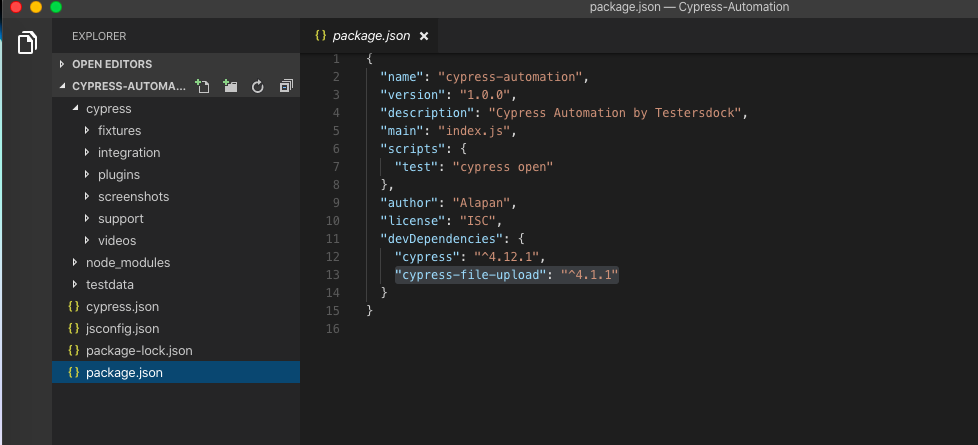
Once you have installed the package successfully, you can see the package name in your package.json file
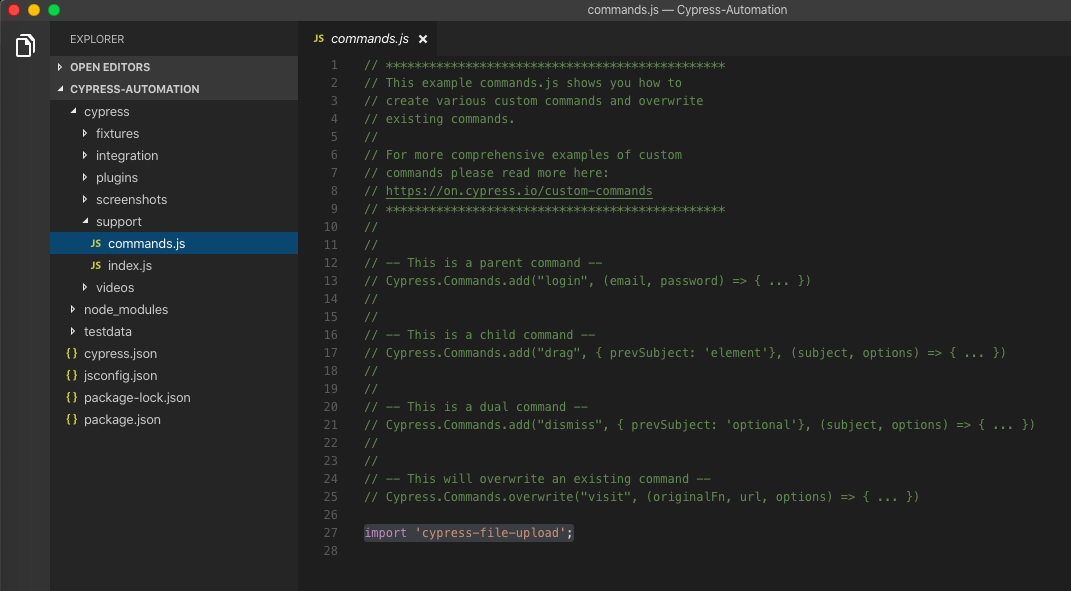
Step 2: We will now import the node package in to our cypress project. To import, write the below code in cypress > support > commands.js
1 | import 'cypress-file-upload'; |
Step 3:
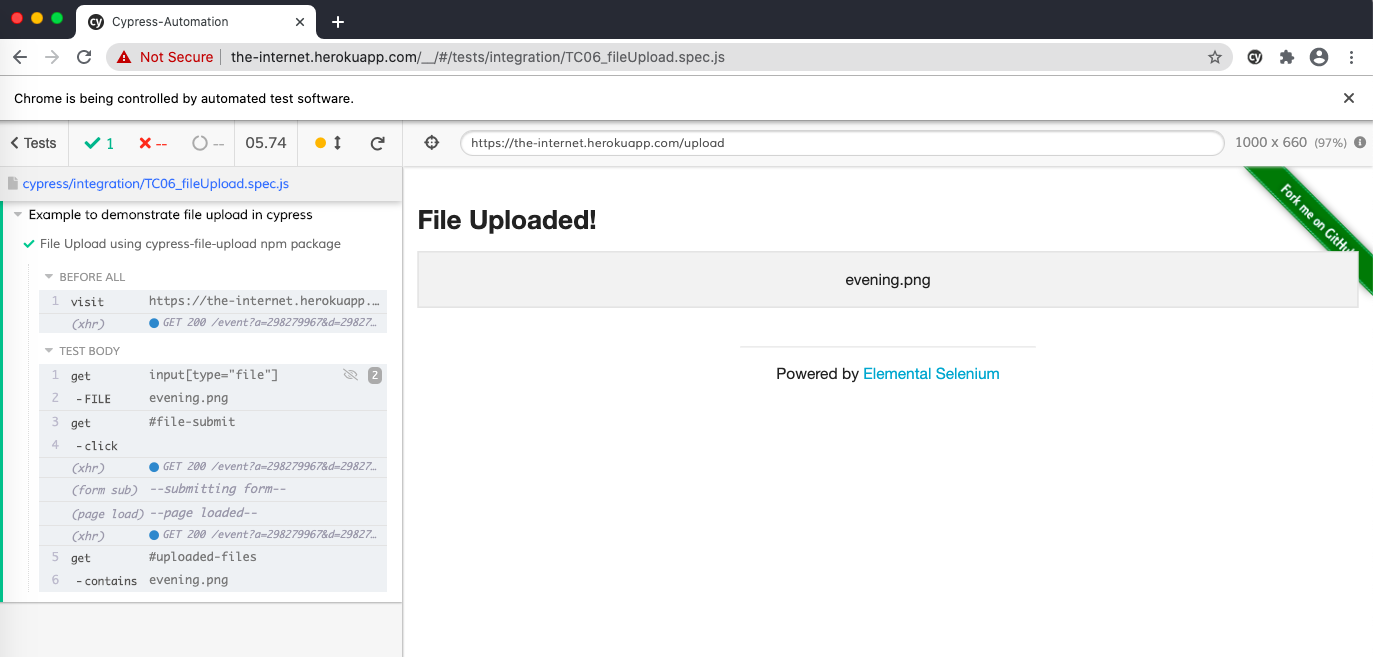
1 2 3 4 5 6 7 8 9 10 11 12 | describe('Example to demonstrate file upload in cypress', function () { before(function () { cy.visit('https://the-internet.herokuapp.com/upload') }) it('File Upload using cypress-file-upload npm package', () => { const filepath = 'images/evening.png' cy.get('input[type="file"]').attachFile(filepath) cy.get('#file-submit').click() cy.get('#uploaded-files').contains('evening.png') }) }) |
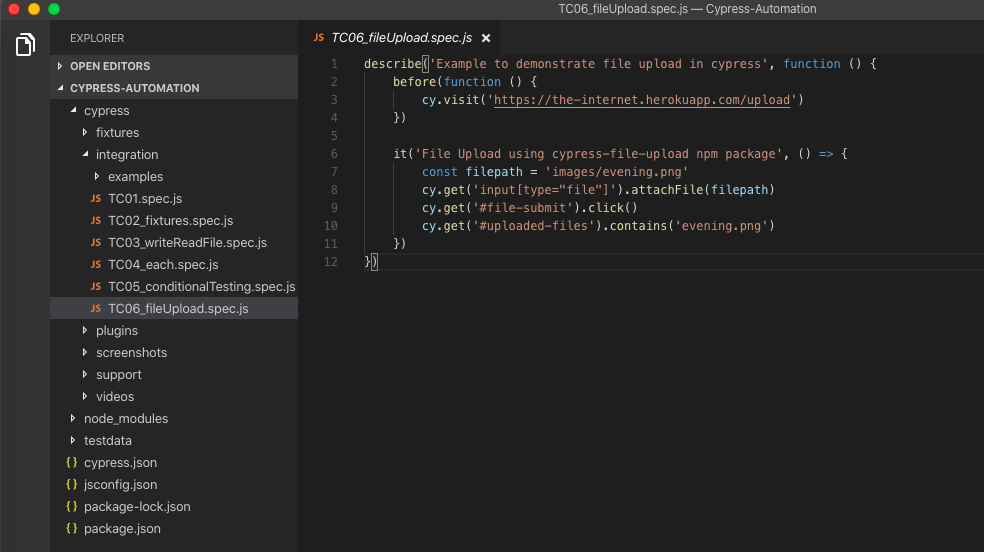
1 2 3 | before(function () { cy.visit('https://the-internet.herokuapp.com/upload') }) |
This will open the webpage https://the-internet.herokuapp.com/upload before the execution of it blocks.
1 2 3 4 5 6 | it('File Upload using cypress-file-upload npm package', () => { const filepath = 'images/evening.png' cy.get('input[type="file"]').attachFile(filepath) cy.get('#file-submit').click() cy.get('#uploaded-files').contains('evening.png') }) |
Here we are uploading a file which is located at fixtures > images > evening.png.

In the filepath variable, we are storing the image path. Since cypress always searches for test data from the fixtures folder so images/evening.png will work fine. cy.get(‘input[type=”file”]’).attachFile(filepath) will add the image file path in Choose file. cy.get(‘#file-submit’).click() will click on the upload button. cy.get(‘#uploaded-files’).contains(‘evening.png’) will check the file name to validate successful upload.
Step 4: After successful Test Execution:
Method 2: Using the in-built .selectFile() command. This was introduced with cypress v 9.3.0.
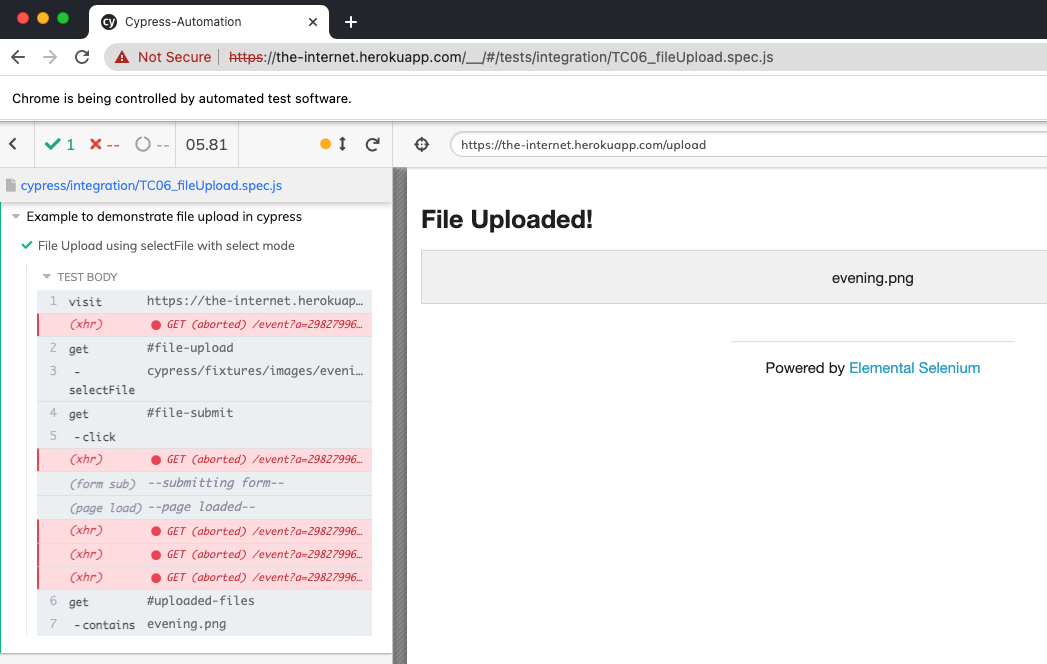
a) File upload using the default ‘select’ mode – By default, .selectFile() runs in ‘select’ mode, mimicking a user selecting one or more files on an HTML5 input element. In this mode, the subject must be a single input element with type=”file”, or a label element connected to an input (either with its for attribute or by containing the input).
1 2 3 4 5 6 | it('File Upload using selectFile with select mode', () => { cy.visit('https://the-internet.herokuapp.com/upload') cy.get('#file-upload').selectFile('cypress/fixtures/images/evening.png') cy.get('#file-submit').click() cy.get('#uploaded-files').contains('evening.png') }) |
Here we are just passing the location of the file to selectFile and then after upload, validating that the file upload was successful. One thing to remember is that the path of the file should be from the project root folder. In our case, the file is located under the ‘images’ folder inside the ‘fixtures’ folder, hence cypress/fixtures/images/evening.png was used.
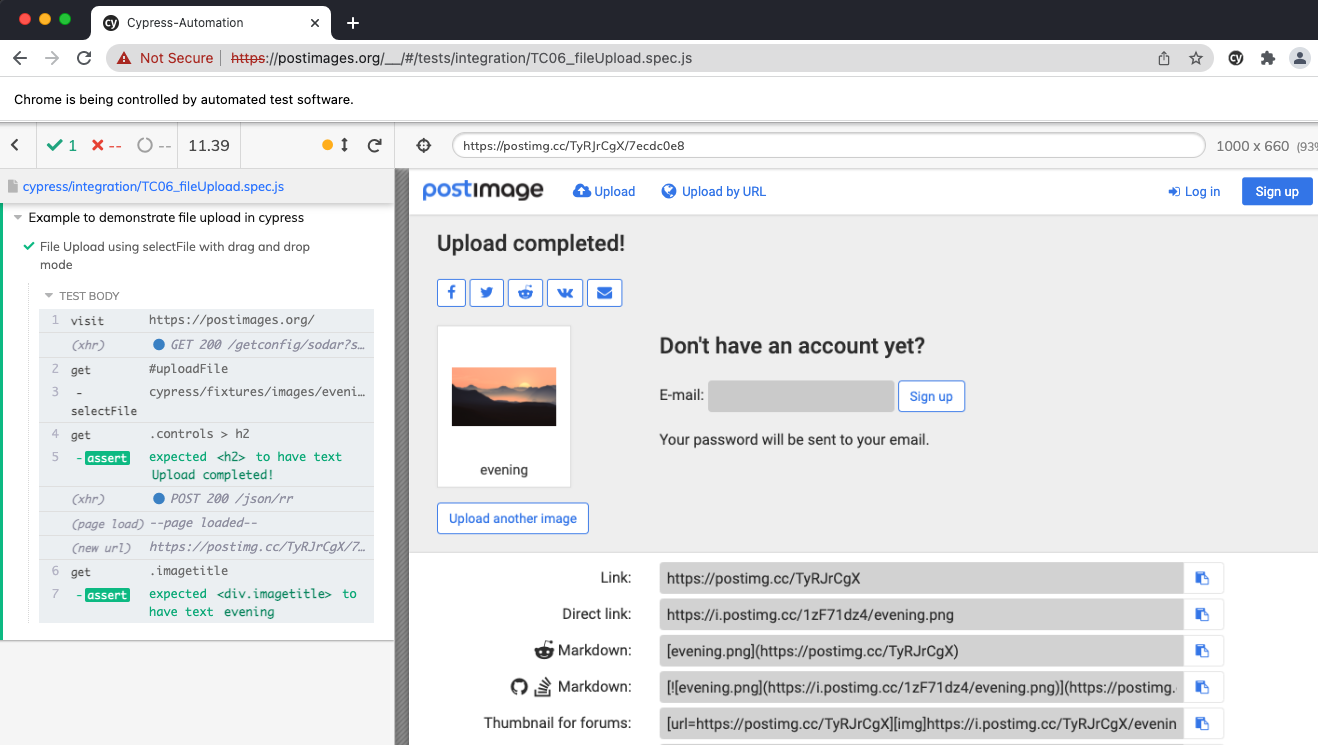
b) File upload using ‘drag-drop’ mode – Setting the action to drag-drop changes the behavior of the command to instead mimic a user dragging files from the operating system into the browser, and dropping them over the selected subject. In this mode, the subject can be any DOM element or the document as a whole.
1 2 3 4 5 6 | it('File Upload using selectFile with drag and drop mode', () => { cy.visit('https://postimages.org/') cy.get('#uploadFile').selectFile('cypress/fixtures/images/evening.png', { action: 'drag-drop' }) cy.get('.controls > h2', { timeout: 7000 }).should('have.text', 'Upload completed!') cy.get('.imagetitle').should('have.text', 'evening') }) |
Here we are using the drag and drop mode for file upload. This can be achieved by passing { action: ‘drag-drop’ } with selectFile. After upload, we are validating that the file was successfully uploaded.
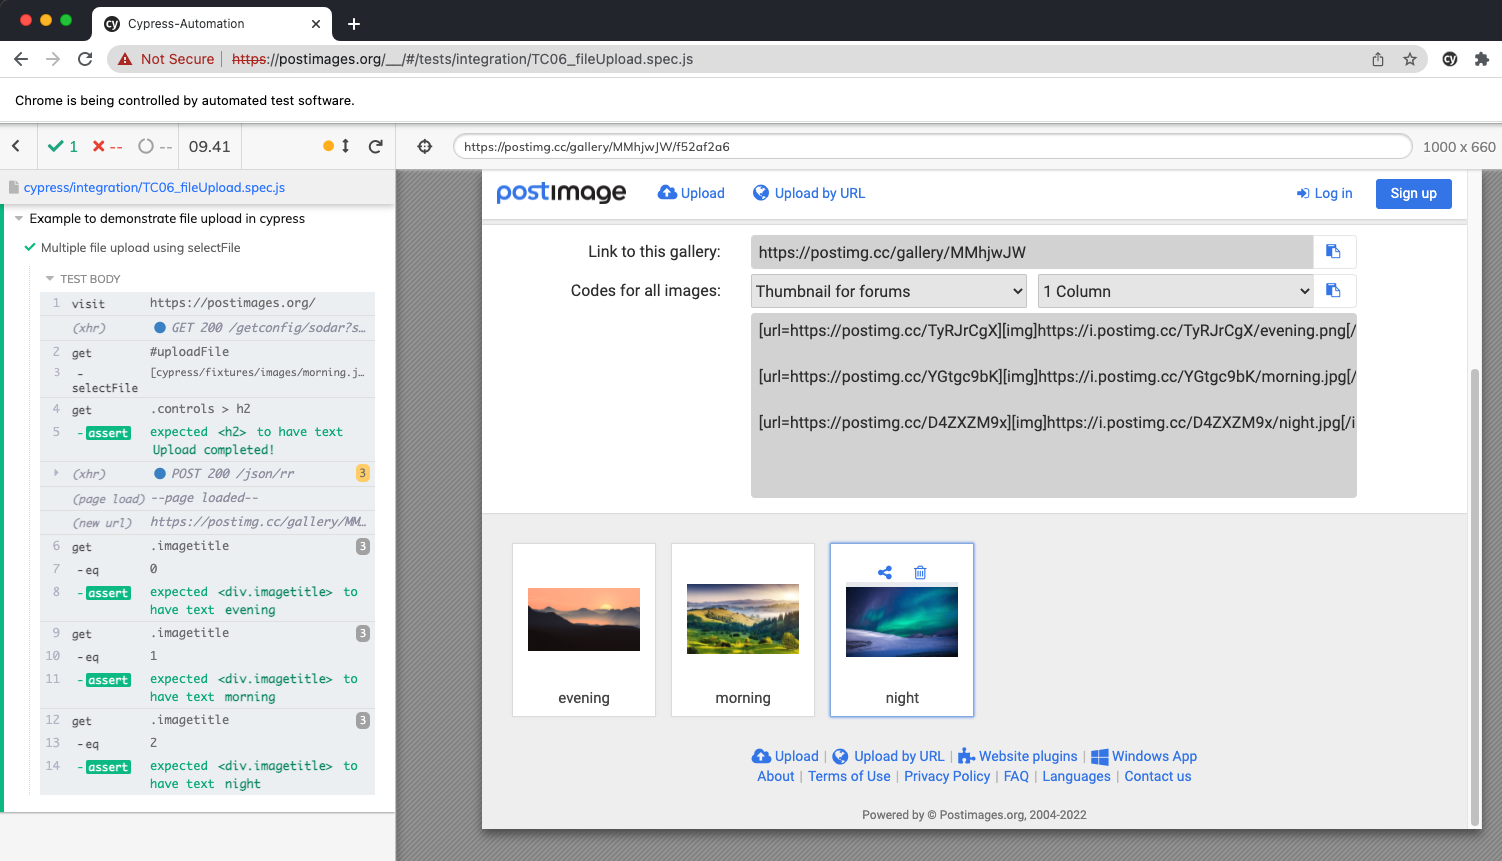
c) Multiple file upload
1 2 3 4 5 6 7 8 9 10 11 12 13 14 15 16 17 18 | it('Multiple file upload using selectFile', () => { cy.visit('https://postimages.org/') cy.get('#uploadFile').selectFile( [ 'cypress/fixtures/images/morning.jpg', 'cypress/fixtures/images/evening.png', 'cypress/fixtures/images/night.jpg', ], {action: 'drag-drop'} ) cy.get('.controls > h2', {timeout: 9000}).should( 'have.text', 'Upload completed!' ) cy.get('.imagetitle').eq(0).should('have.text', 'evening') cy.get('.imagetitle').eq(1).should('have.text', 'morning') cy.get('.imagetitle').eq(2).should('have.text', 'night') }) |
Here instead of one file, we are inputting multiple files at once for upload. This is achieved by passing the file locations as an array to selectFile. Once the files are uploaded we are validating that the upload was successful.
In case you have been previously using the cypress-file-upload plugin and want to move to cypress native command selectFile(), you can check out this migration guide.
Do check out 🙂
Github: https://github.com/alapanme/Cypress-Automation
All Cypress Articles: https://testersdock.com/cypress-tutorial/


Thank you so much for this. It was really easy to follow and worked for my project !
Thanks for your kind words 🙂
Quick and easy, thank you! 👍
Nice, i suggest to change the line 5 to:
cy.get(‘#uploaded-files’).should(‘contain’, ‘evening’)
Thanks for the help bro, nice tutorial!
Thank you for the detailed explanation for implementation.
Thank you for your kind words Karthik 🙂
Hi does this work for excel file upload?
I followed same instructions
but
I’m receiving
cy.get(…).attachFile is not a function
it(‘File Upload using cypress-file-upload npm package’, () => {
const filepath = ‘File/NewFileUploadTemplate.xlsx’
cy.get(‘input[type=”file”]’).attachFile(filepath)
cy.get(‘#file-submit’).click()
cy.get(‘#uploaded-files’).contains(‘NewFileUploadTemplate.xlsx’)
})
})
I have put my excel file under fixtures folder and followed all instructions as mentioned by you.
Appreciate your help ! Thank you in advance
Never Mind , Found what I was missing ! My commands.js was not saved , But Thank you so much for a very easy and detailed instructions , I struggled really hard . Glad I found your blog ! This was so helpful ! Hopefully I can be a good automation tester like you one day 🙂
Glad you were able to figure it out yourself. Also, thank you for your kind words. And keep on practising and writing new tests, it will improve your debugging and coding skills a lot.
Hi Alapan, Thankyou for your detailed explanation.
I am struggling to save .png/jpeg format images under fixtures. Will you be able to let me know if possible , thankyou very much for your time.
Hi DK, I am not sure I understood the question as this blog post only tells you how you can upload the files. If you are looking for file download you can look into – https://testersdock.com/cypress-file-download/
Hi Alapan , sorry I meant upload itself, but to upload from fixtures firstly to save in fixtures is where I am stuck. Hope it’s little
clear now, thanks.
Hi Alapan , I was referring to upload but I am stuck with the file that needs to be uploaded which should be saved under fixtures as how you have saved your evening.png under images/fixtures. So I am referring to this saving process, if possible could you let me know how you were to save it,thankyou very much.
Hi DK, I placed the image file manually in the fixtures/images folder. I just went to the fixtures folder and created an images folder and inside it, I manually pasted the evening.png file there.
Hi Alapan, As we have two parts here , one first we need a file to be uploaded from fixtures and second uploading that in other place.
My question is regarding the first part how to save a file in fixtures as I am unable to do that ,will you let me know,thanks.
Where is your file currently that you want to upload – On some webpage or somewhere locally?
Is it possible to attach files from the downloads folder in cypress? We’re downloading a file and then importing. Cypress keeps pointing to the fixtures folder even though I’m pointing to the downloads folder.
how can i upload a video mp4
I want to upload .dwg file with cypress, but not found any solutions .
Appreciate your help ! Thank you in advance
Dear Alapan, thank you very much for that package. It works great and is an amazing help for my current testing project!
I tried with .csv file and my web application threw an error ‘CSV File is not valid’ went through some issues in the internet and yet to crack it down. Do you know a cleanest way to upload a csv file?
Note that as of 9.3.0 this functionality is built into cypress via cy.selectFile
Hey, Alex Thanks for the heads up. I will update this blog post with the new command.
uploading file from external source or device not from fixture file?
Hi, nice article! However, I’m running to an issue where uploading a .csv file doesn’t work when using selectFIle(). Were you able to make this work? Thanks