To generate HTML reports in cypress we would be using Mochawesome in combination with mochawesome-report-generator and mochawesome-merge.
1. Mochawesome is a custom reporter that can be used for mocha tests.
2. mochawesome-report-generator takes the JSON output from mochawesome and generates a full-fledged HTML/CSS report.
3. mochawesome-merge merges several Mochawesome JSON reports into one.
Let’s further deep-dive and configure mochawesome for our cypress. Since cypress comes pre-baked with mocha, so we can use it to generate HTML reports.
Step 1: Install all the node packages using the command:
1 | npm i --D mocha mochawesome mochawesome-merge mochawesome-report-generator |
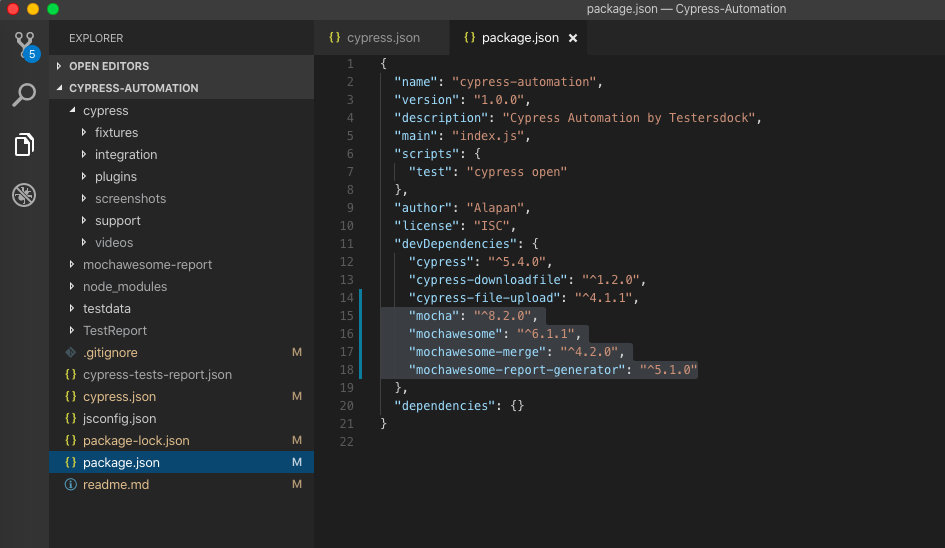
After installation your package.json file should look like this:
1 2 3 4 5 6 7 8 9 10 11 12 13 14 15 16 17 18 19 20 21 | { "name": "cypress-automation", "version": "1.0.0", "description": "Cypress Automation by Testersdock", "main": "index.js", "scripts": { "test": "cypress open" }, "author": "Alapan", "license": "ISC", "devDependencies": { "cypress": "^5.4.0", "cypress-downloadfile": "^1.2.0", "cypress-file-upload": "^4.1.1", "mocha": "^8.2.0", "mochawesome": "^6.1.1", "mochawesome-merge": "^4.2.0", "mochawesome-report-generator": "^5.1.0" }, "dependencies": {} } |
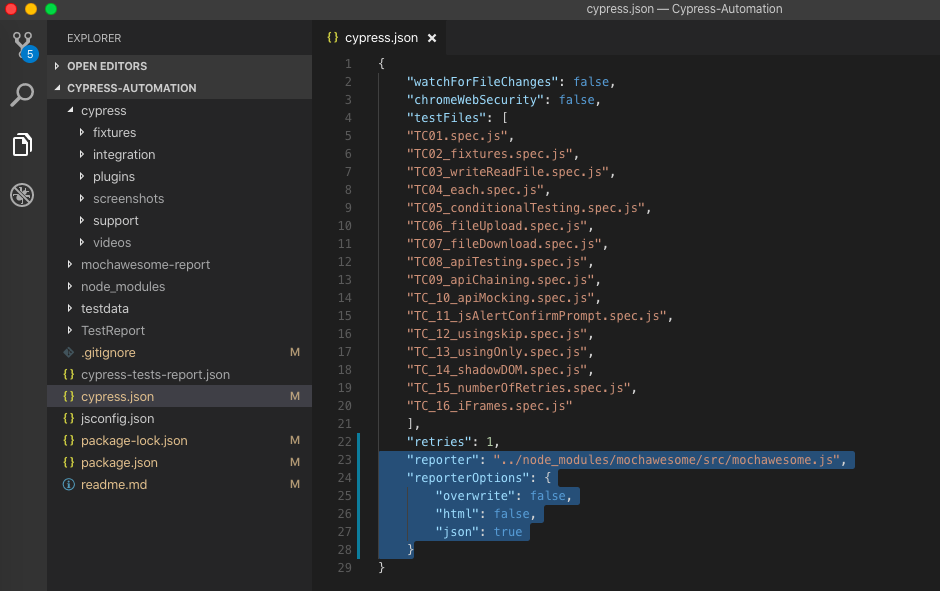
Step 2: Write the following in your cypress.json file:
1 2 3 4 5 6 | "reporter": "../node_modules/mochawesome/src/mochawesome.js", "reporterOptions": { "overwrite": false, "html": false, "json": true } |
“overwrite”: false will make sure that the report of the previous tests is not overwritten by the current test.
“html”: false will make sure that the HTML report is not generated after execution of a single test.
“json”: true makes sure that at the end of every test, a json file is created which would contain the details of its test run.
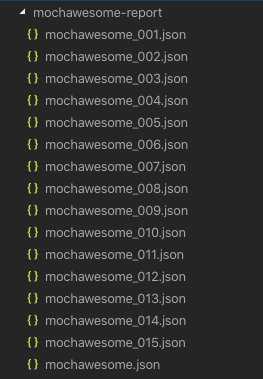
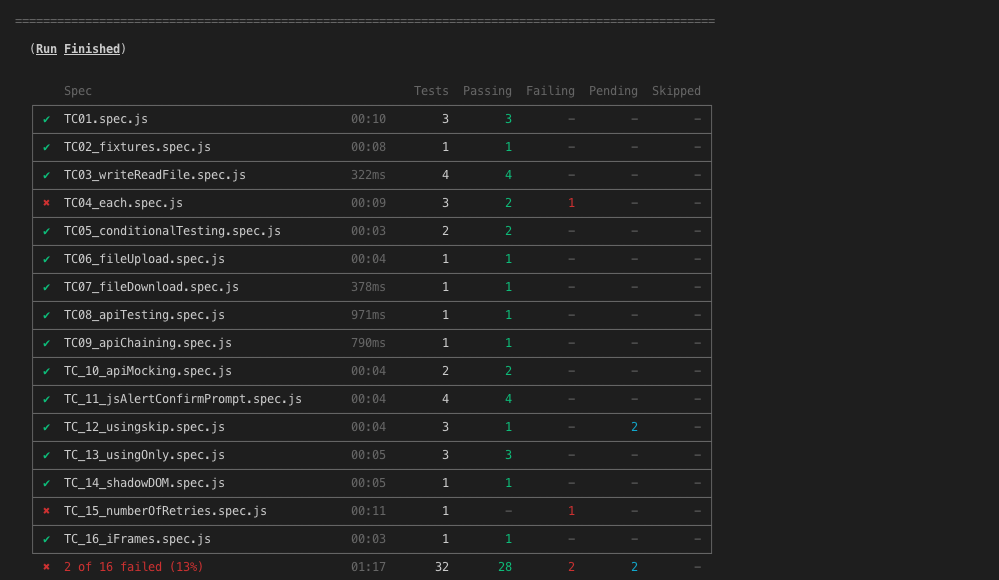
Step 3: Run your tests in cli mode using the command npx cypress run. On running the command, for each test file, a separate json file will be created inside mochawesome-report.
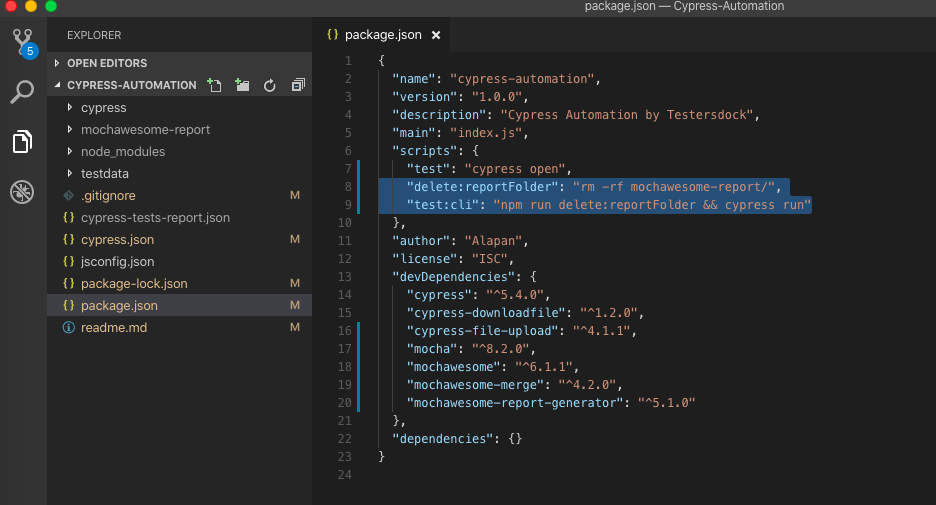
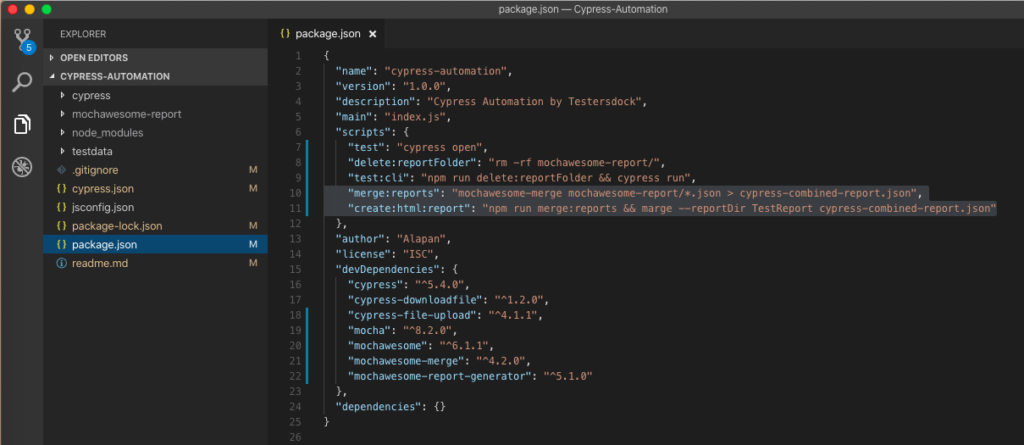
Step 4: Next, we have to make sure that with every test run, the JSON files from the previous test execution are removed. For that, again go to package.json file and under scripts write:
1 | "delete:reportFolder": "rm -rf mochawesome-report/" |
And then write the below line to make sure that the delete folder command runs before cypress CLI execution.
1 | "test:cli": "npm run delete:reportFolder && cypress run" |
So from now on for cypress tests execution, we will use our custom command npm run test:cli.
Step 5: Next step would be to create a single test JSON file by merging all the individual test JSON files and then finally create a single HTML report file. To do that again go to package.json file and under scripts write:
1 2 | "merge:reports": "mochawesome-merge mochawesome-report/*.json > cypress-combined-report.json", "create:html:report": "npm run merge:reports && marge --reportDir TestReport cypress-combined-report.json" |
“merge:reports”: “mochawesome-merge mochawesome-report/*.json > cypress-combined-report.json” – Will merge all the json files from mochawesome-report folder to a single json file cypress-combined-report.json
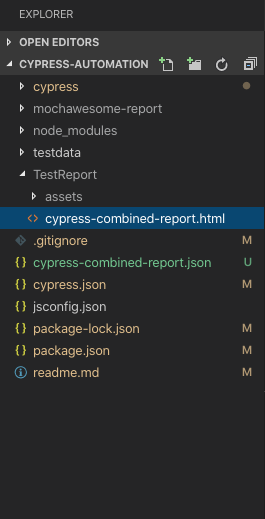
“create:html:report”: “npm run merge:reports && marge –reportDir TestReport cypress-combined-report.json” – This command will create a single HTML file from the combined JSON file.
Step 6: So to get our final HTML report we just have to execute two commands:
1. npm run test:cli – This would first remove all previous test execution JSON files and then will execute the cypress tests in CLI mode and save separate JSON files for all tests under mochawesome-report.
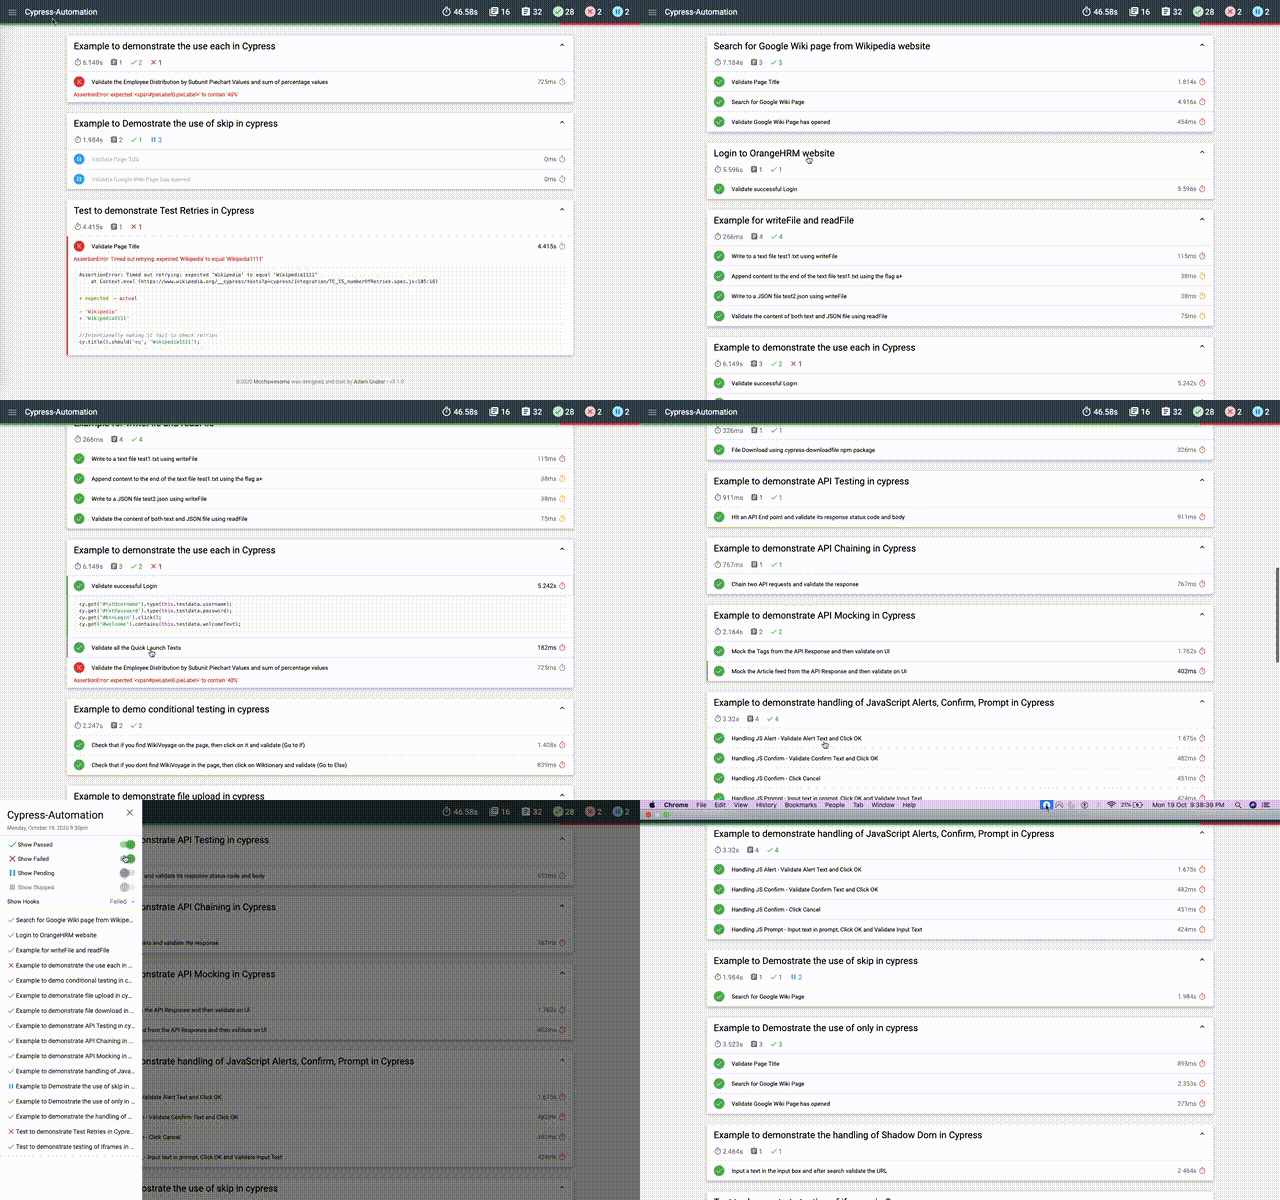
2. npm run create:html:report – This will create a final HTML report for the test execution.
Do check out 🙂
Github: https://github.com/alapanme/Cypress-Automation
All Cypress Articles: https://testersdock.com/cypress-tutorial/


