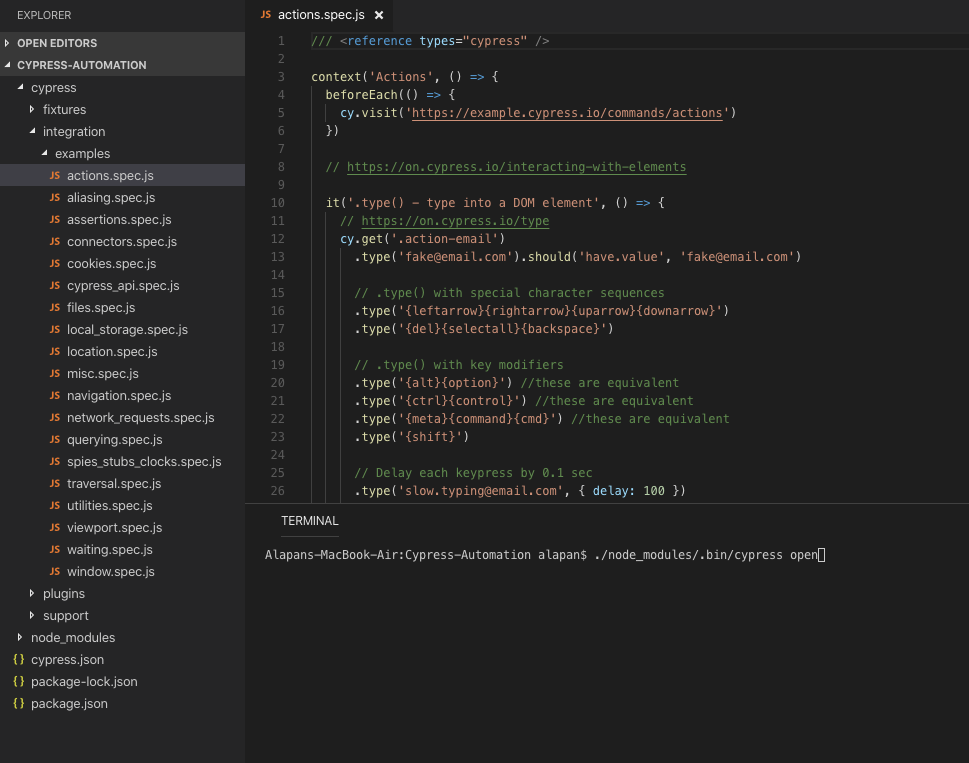
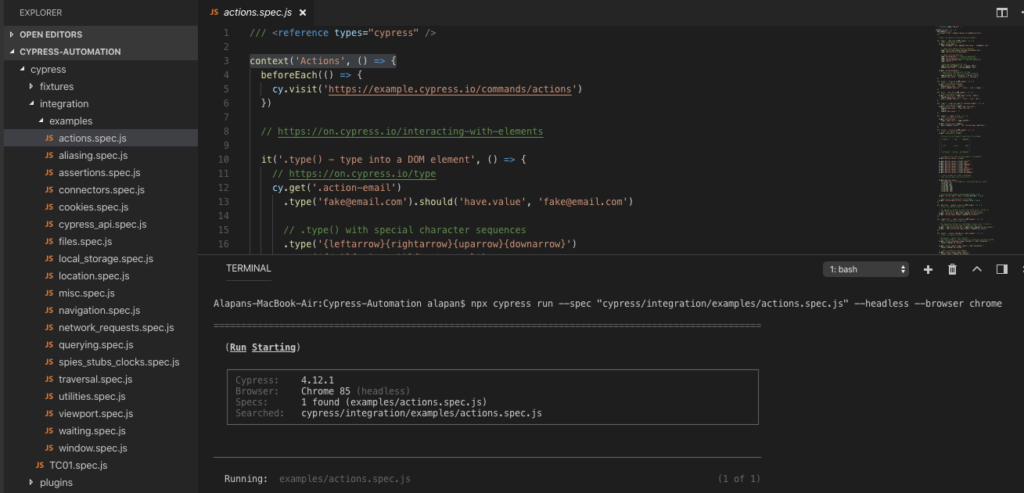
In this article, we will see how we can execute cypress tests using Test Runner and CLI. We would be executing the example tests. The example tests are created during cypress installation and are a good way to learn on how to effectively write scripts in cypress.
1. Using Test Runner:
Using the terminal we will go inside our test project folder and use the command:
1 | ./node_modules/bin/cypress open |
Once the command is executed, the Test Runner UI will come up, where you can either run a single test or all tests in your desired browser. Cypress automatically detects available browsers on your OS. You can switch the browser in the Test Runner by using the drop-down in the top right corner. You can get the list of supported browsers from here.
Now if you want to shorten command ./node_modules/bin/cypress open to something like npm test you can add the cypress command to the scripts object in your package.json
1 2 3 | "scripts": { "test": "cypress open" } |
2. Using CLI:
When executing through the command-line interface, the tests will run in a headless browser.
1 2 | npx cypress run //This will run all the tests in the default Electron browser in headless mode. |
1 2 | npx cypress run --spec "cypress/integration/examples/actions.spec.js" //This will run a specific test in the default Electron browser in headless mode. |
1 2 | npx cypress run --headless --browser chrome //This command will run all the tests headlessly in the chrome browser. |
1 2 | npx cypress run --spec "cypress/integration/examples/actions.spec.js" --headless --browser chrome //This command will run a specific test headlessly in the chrome browser. |
Do check out 🙂
Github: https://github.com/alapanme/Cypress-Automation
All Cypress Articles: https://testersdock.com/cypress-tutorial/


