Playwright is a framework for Web Testing and Automation. It allows testing Chromium, Firefox, and WebKit with a single API. It is built to enable cross-browser web automation that is reliable and fast. Playwright, also has its own test runner for end-to-end tests called Playwright Test. Some of its other features include:
Playwright provides a very interactive method of installation using the init command. Let’s look into it step by step. The following steps are based on the assumption that Node JS is installed on your system. Also, the below steps will work for both Windows and MAC machines.
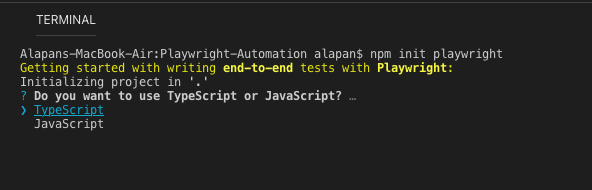
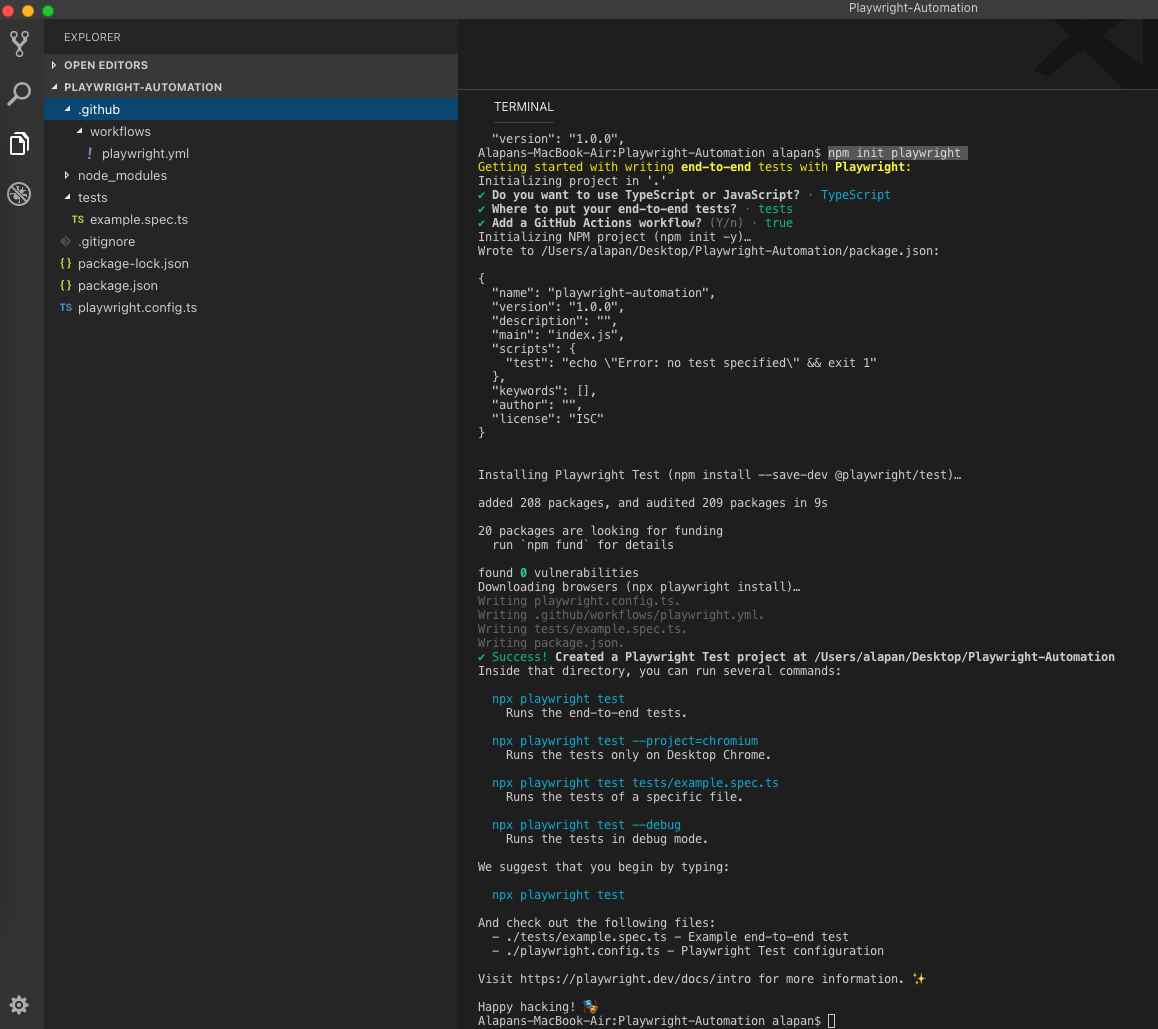
Step 1: Create your project folder and run the command at the root level:
1 | npm init playwright |
Step 2: Next, choose the language you want to use in your project – ‘Javascript’ or ‘Typescript’.
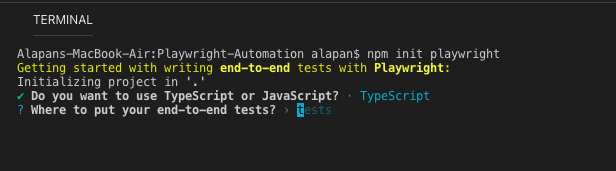
Step 3: Next, add the folder name where you want to keep your tests. By default, the folder name is ‘tests’.
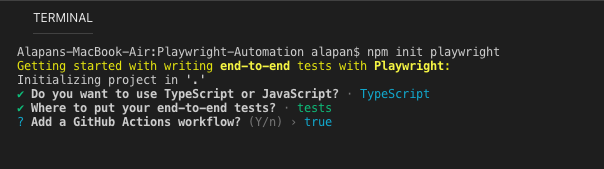
Step 4: Next, choose if you want to add a Github Actions workflow to your project. By default, it is set to yes(Y).
Step 5: Finally, when everything is selected, Playwright will install all necessary dependencies and will also create the project structure.
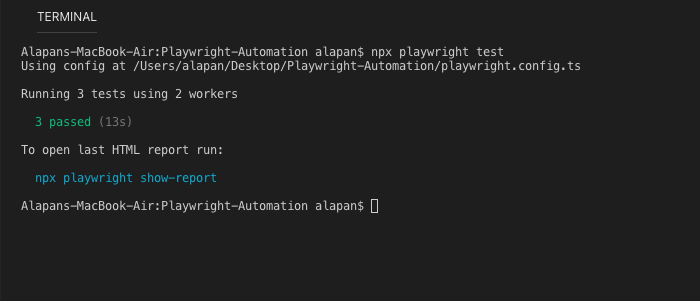
Step 6: To make sure everything is set up correctly, we will now execute the example test that was created during the installation.
1 | npx playwright test |
Do check out 🙂


