In this article, we will look into the ways in which File Upload can be done using Selenium Web driver. File Upload can be done in number of ways, given below are the most common and widely used methods:
1. SendKeys()
Using sendKeys() we can send the path of the file. Let us Automate a test case to upload an image file to a website using send keys.
1 2 3 4 5 6 7 8 9 10 11 12 13 14 15 16 17 18 19 20 21 22 23 24 25 26 27 28 29 30 31 32 33 34 35 36 37 38 39 40 41 42 43 44 45 46 47 48 | import org.openqa.selenium.By; import org.openqa.selenium.WebDriver; import org.openqa.selenium.WebElement; import org.openqa.selenium.chrome.ChromeDriver; public class UploadSendKeys { public static void main(String[] args) throws InterruptedException { WebDriver driver; // Telling Selenium to find Chrome Driver System.setProperty("webdriver.chrome.driver", "C:\\selenium\\chromedriver.exe"); // Initialize browser driver = new ChromeDriver(); // Launch the Postmyimage Website driver.get("http://www.postmyimage.com/"); // Find the upload textbox WebElement upload = driver.findElement(By.className("input2")); // Enter the file path onto the file-selection input field upload.sendKeys("C:\\DemoImage\\Tulips.jpg"); // Click on TOS Checkbox driver.findElement(By.name("tos")).click(); // Click on Submit Button driver.findElement(By.id("submit1")).click(); // Wait Thread.sleep(8000); // Store Uploaded image Path String UploadImage = driver.findElement(By.name("url1[]")).getText(); // Compare if (UploadImage.contains("Tulips")) { System.out.println("Image Uploaded Successfully"); } else { System.out.println("Image Upload Failed"); } // Close the browser driver.quit(); } } |
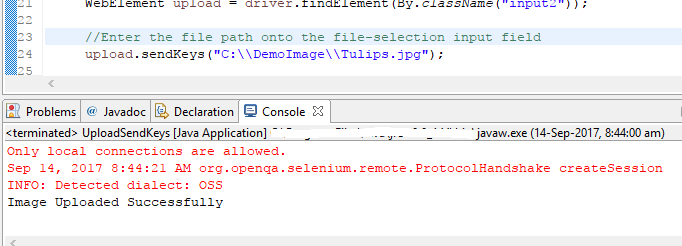
Upon execution, if the image is successfully uploaded we should get the “Image Uploaded Successfully” message in the console.
While passing the file location we use \\ instead of \, because of the use of escape characters. \\will insert a single backslash \.
2. AutoIT
Using AutoIT also, we can do File Upload in selenium. Since Selenium can’t handle Non-Web Popups and Windows GUI, we require AutoIT to do this job for Selenium. AutoIT is a freeware which helps to automate the Windows GUI using its inbuilt scripting capabilities.
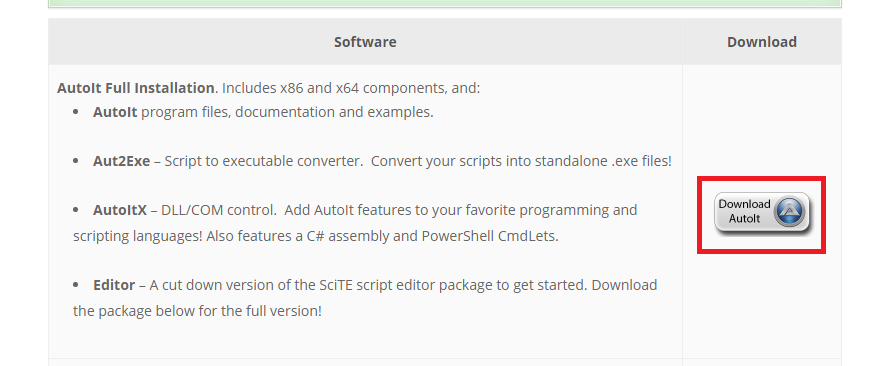
To get Started we require two software: AutoIT and AutoIT Editor.
To download AutoIT, go to this link.
To download AutoIT Editor, Go to this link.
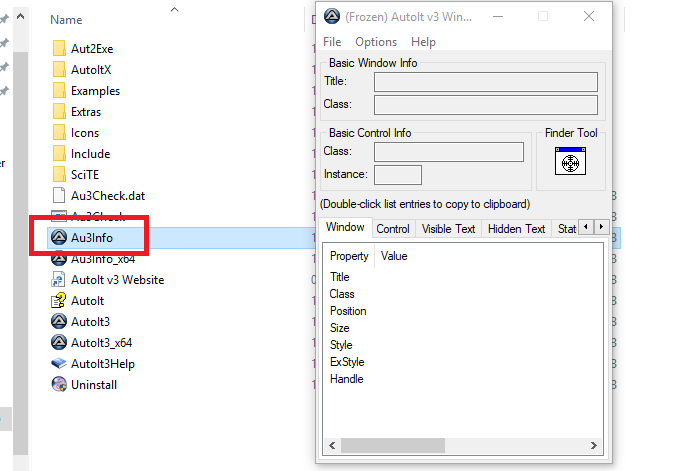
Install both of them on your system. Now go to the installation folder of AutoIT and double click on Au3Info.exe.
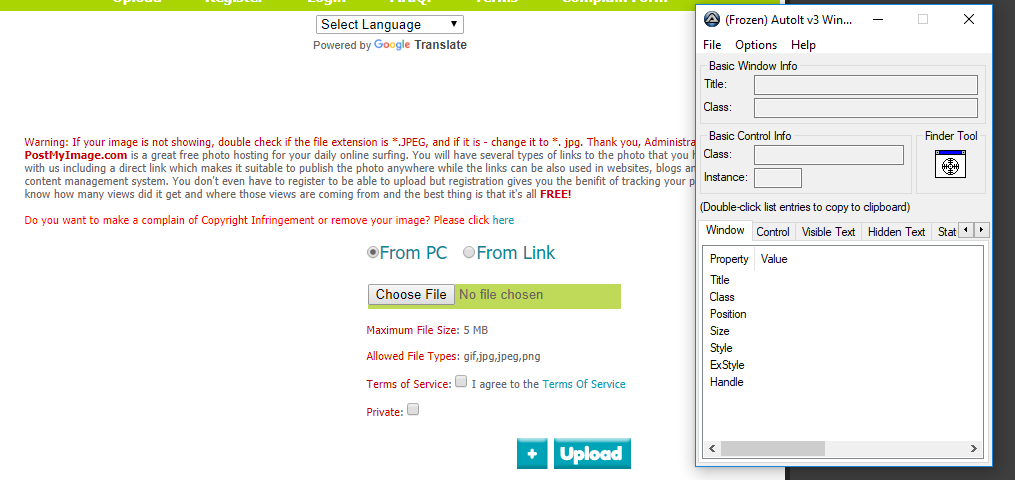
Now, Open the Web App that needs to be Automated along with AutoIT as shown below:
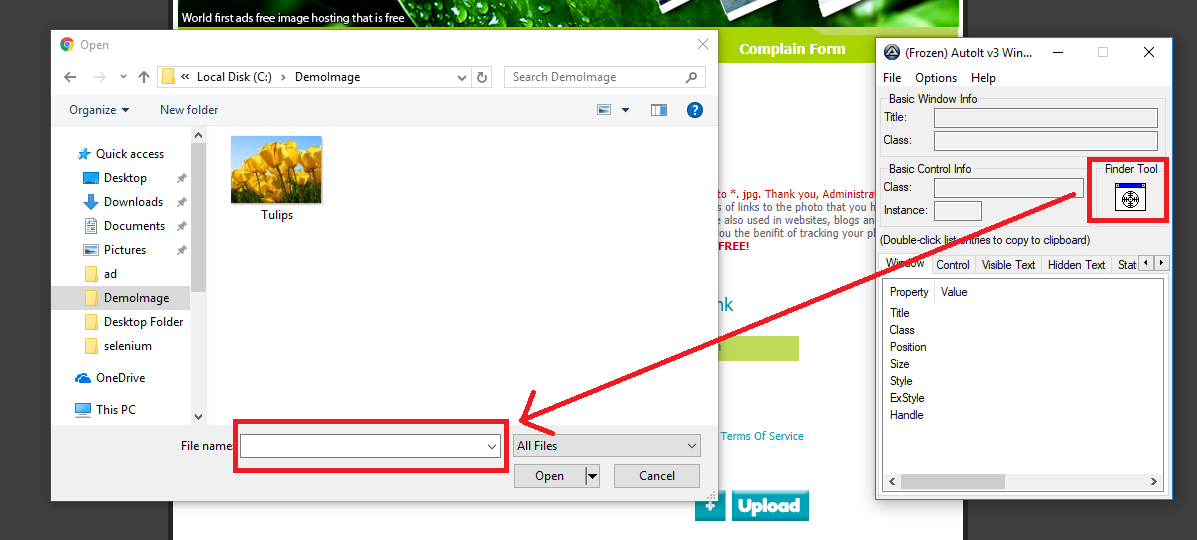
Now, Click on Browse button and when the Windows File Selection Window appears, drag the Finder Tool option to the File Name text box.
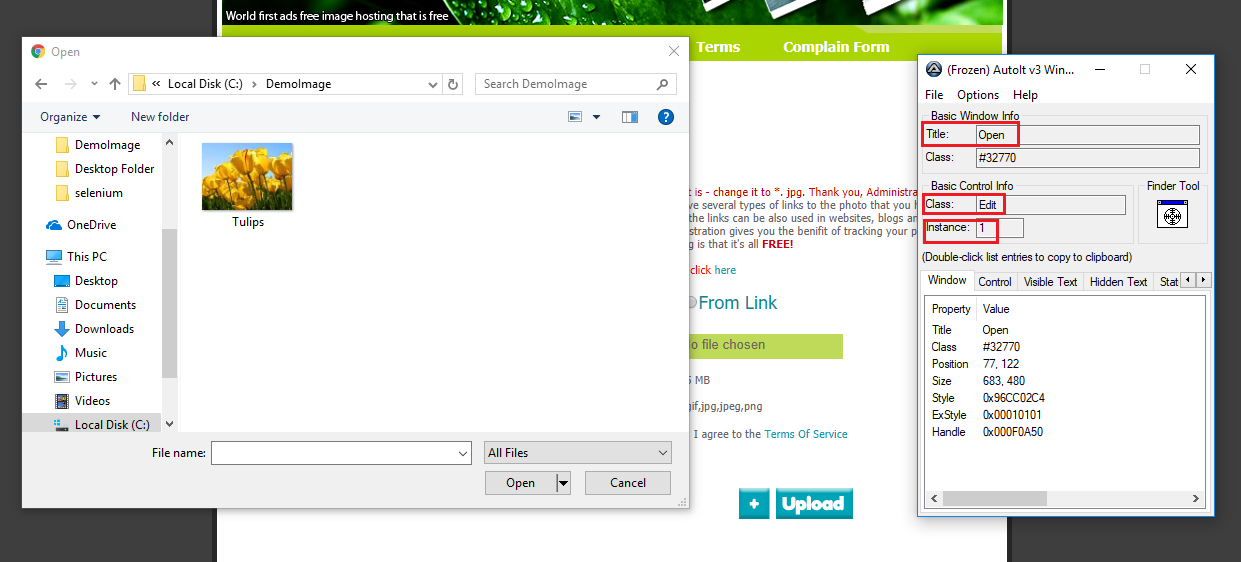
On dragging the Finder tool to the Filename textbox the AutoIT UI will be populated with certain values, title=’Open’, class=’Edit’ and instance=’1′.
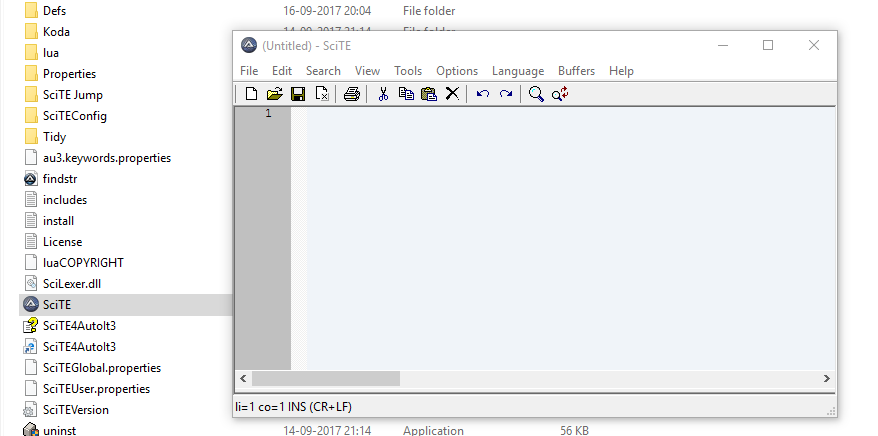
Now, Go to C:\Program Files (x86)\AutoIt3\SciTE and open the AutoIT Editor.
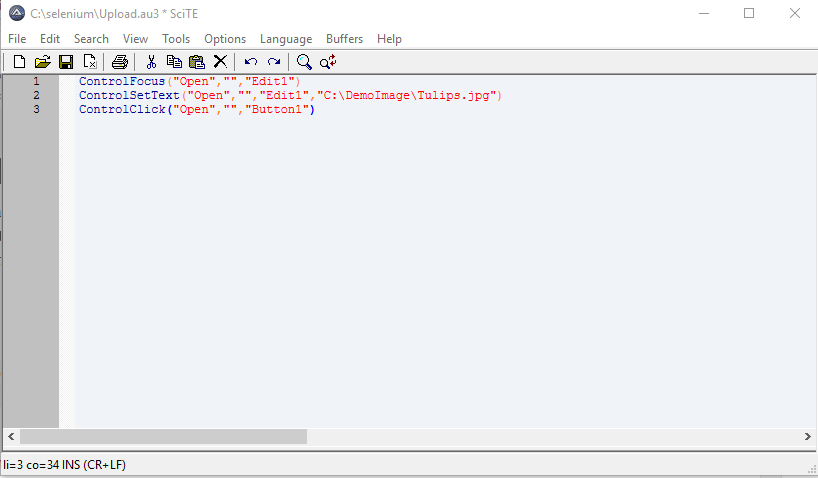
Next, we will write ControlFocus(“Open”,””,”Edit1″) in the AutoIT Editor. The ControlFocus method sets the Focus to the File Name text box. Here Open is the title. The second parameter is text which can be kept blank so we have written “”. The third Parameter is the combination of Class and Instance values. The class value is Edit and the instance value is 1, so Edit1.
The next job is to pass the file path to the file name text box and for that, we will write ControlSetText(“Open”,””,”Edit1″,”C:\DemoImage\Tulips.jpg”) in the editor after ControlFocus. Here also Open is the title. Second is the text parameter kept as “”. The third is Edit1 which is the combination of class and instance values and last is the file path which in my case is C:\DemoImage\Tulips.jpg.
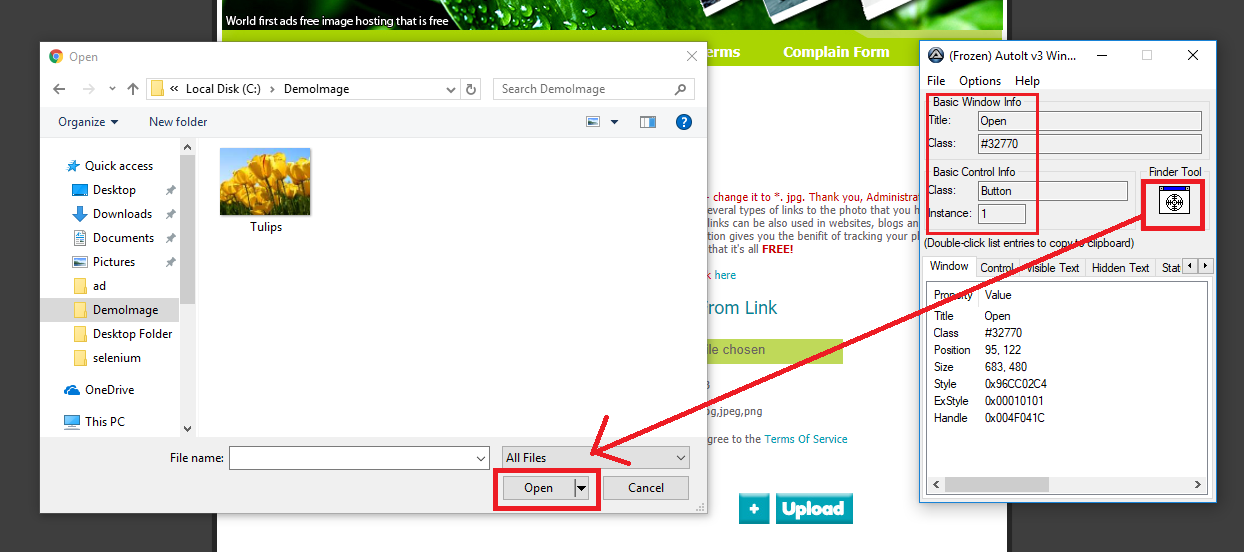
We have successfully completed two tasks: set focus to the file name text box and passing of the File Path to the text box. The third and last task that needs to be done is to Click on the Open button. For that, we will again Drag the Finder tool to the Open button to get the values for title, class, and instance.
To click on the Open button we will use the ControlClick method. We will write ControlClick(“Open”,””,”Button1″). Open is the title, “” is the blank text and Button1 is the combination of class and instance value.
Post writing the three methods, Save the script with the default file extension to some location.
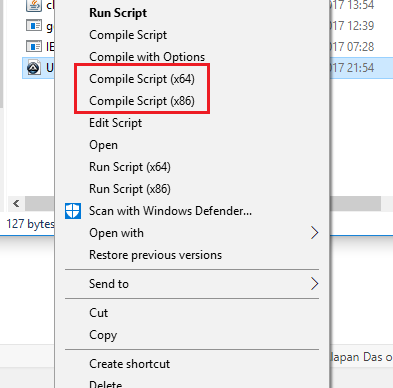
Now open the location where the script is saved, Right Click and select Compile Script. Use x86 if you have a 32-bit machine and x64 for 64-bit machine.
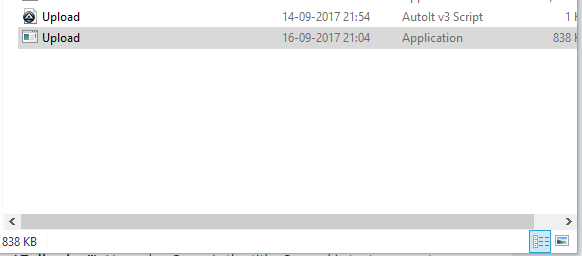
After clicking on the compile script a new file will be generated just beneath the script file.
Now we will use this compiled file in the selenium. In the selenium we will write the following code:
1 | Runtime.getRuntime().exec("Path to the Compiled file"); |
Below is the entire selenium code to automate File Upload using AutoIT:
1 2 3 4 5 6 7 8 9 10 11 12 13 14 15 16 17 18 19 20 21 22 23 24 25 26 27 28 29 30 31 32 33 34 35 36 37 38 39 40 41 42 43 44 45 46 47 48 49 50 51 52 53 54 | import java.io.IOException; import org.openqa.selenium.By; import org.openqa.selenium.WebDriver; import org.openqa.selenium.WebElement; import org.openqa.selenium.chrome.ChromeDriver; public class UploadAutoIt { public static void main(String[] args) throws IOException, InterruptedException { WebDriver driver; // Telling Selenium to find Chrome Driver System.setProperty("webdriver.chrome.driver", "C:\\selenium\\chromedriver.exe"); // Initialize browser driver = new ChromeDriver(); // Launch the Postmyimage Website driver.get("http://www.postmyimage.com/"); // Find the upload textbox WebElement upload = driver.findElement(By.className("input2")); // Click on File Upload Browse Button upload.click(); // Run the AutoIt Script Runtime.getRuntime().exec("C:\\selenium\\Upload.exe"); // Click on TOS Checkbox driver.findElement(By.name("tos")).click(); Thread.sleep(5000); // Click on Submit Button driver.findElement(By.id("submit1")).click(); Thread.sleep(8000); // Store Uploaded image Path String UploadImage = driver.findElement(By.name("url1[]")).getText(); // Compare if (UploadImage.contains("Tulips")) { System.out.println("Image Uploaded Successfully"); } else { System.out.println("Image Upload Failed"); } // Close the browser driver.quit(); } } |
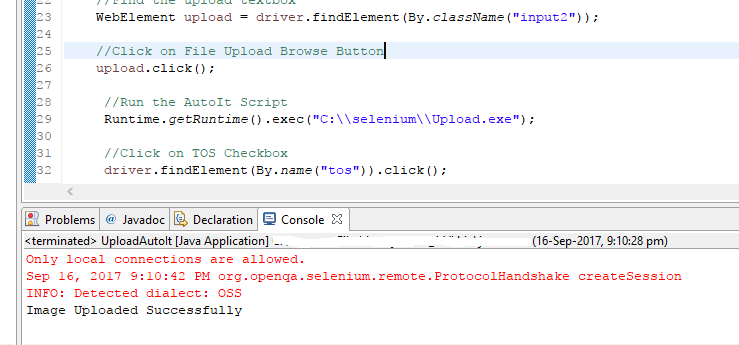
We should get a success message on successful execution.
3. Robot Class
Robot Class is another way to perform File Upload in Selenium. It is used to control Mouse and Keyboard events. It does it with help of various methods, in this tutorial we will be looking into two such methods: keyPress and keyRelease. As the name suggests, keyPress presses the key whereas keyRelease releases the key.
Two things that we will be doing here are:
- Copy the File path in the system clipboard. For this, we will be using StringSelection and Toolkit classes.
- Paste the file path in the File name text box and click on Open button. For this, we will be using Enter Key and Ctrl+v keys.
Below is the entire selenium code to do file upload using Robot Class:
1 2 3 4 5 6 7 8 9 10 11 12 13 14 15 16 17 18 19 20 21 22 23 24 25 26 27 28 29 30 31 32 33 34 35 36 37 38 39 40 41 42 43 44 45 46 47 48 49 50 51 52 53 54 55 56 57 58 59 60 61 62 63 64 65 66 67 68 69 70 71 72 73 74 75 76 77 78 79 80 81 82 83 | import java.awt.AWTException; import java.awt.Robot; import java.awt.Toolkit; import java.awt.datatransfer.StringSelection; import java.awt.event.KeyEvent; import java.io.IOException; import org.openqa.selenium.By; import org.openqa.selenium.WebDriver; import org.openqa.selenium.WebElement; import org.openqa.selenium.chrome.ChromeDriver; public class UploadRobot { public static void main(String[] args) throws IOException, InterruptedException, AWTException { WebDriver driver; // Telling Selenium to find Chrome Driver System.setProperty("webdriver.chrome.driver", "C:\\selenium\\chromedriver.exe"); // Initialize browser driver = new ChromeDriver(); // File Location StringSelection select = new StringSelection("C:\\DemoImage\\Tulips.jpg"); // Copy to clipboard Toolkit.getDefaultToolkit().getSystemClipboard().setContents(select, null); // Launch the Postmyimage Website driver.get("http://www.postmyimage.com/"); // Find the upload textbox WebElement upload = driver.findElement(By.className("input2")); // Click on File Upload Browse Button upload.click(); // Create object of Robot class Robot robot = new Robot(); Thread.sleep(1000); // Press CTRL+V robot.keyPress(KeyEvent.VK_CONTROL); robot.keyPress(KeyEvent.VK_V); // Wait Thread.sleep(1000); // Release CTRL+V robot.keyRelease(KeyEvent.VK_CONTROL); robot.keyRelease(KeyEvent.VK_V); // Wait Thread.sleep(1000); // Press Enter robot.keyPress(KeyEvent.VK_ENTER); robot.keyRelease(KeyEvent.VK_ENTER); // Click on TOS Checkbox driver.findElement(By.name("tos")).click(); Thread.sleep(5000); // Click on Submit Button driver.findElement(By.id("submit1")).click(); Thread.sleep(8000); // Store Uploaded image Path String UploadImage = driver.findElement(By.name("url1[]")).getText(); // Compare if (UploadImage.contains("Tulips")) { System.out.println("Image Uploaded Successfully"); } else { System.out.println("Image Upload Failed"); } // Close the browser driver.quit(); } } |
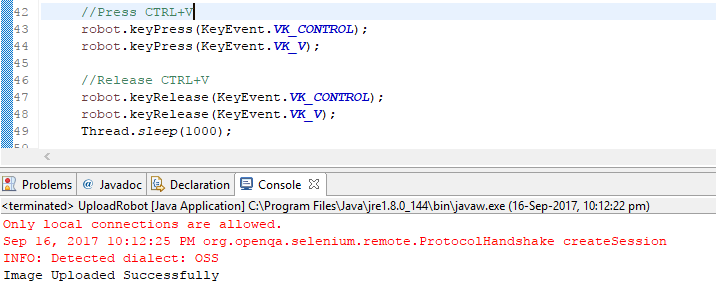
If everything goes well, we should get a success message upon execution.


