
Nightwatch.js is an automated testing framework for web applications and websites, written in Node.js. It is a complete browser (End-to-End) testing solution which aims to simplify the process of setting up Continuous Integration and writing automated tests. Nightwatch can also be used for writing Node.js unit tests. For more information, you can visit the Getting Started Page.
I would be doing the installation on a Mac Machine but the steps are more or less the same for Windows as well.
1. Install and Configure Java. For Windows, you can visit here. For Mac –
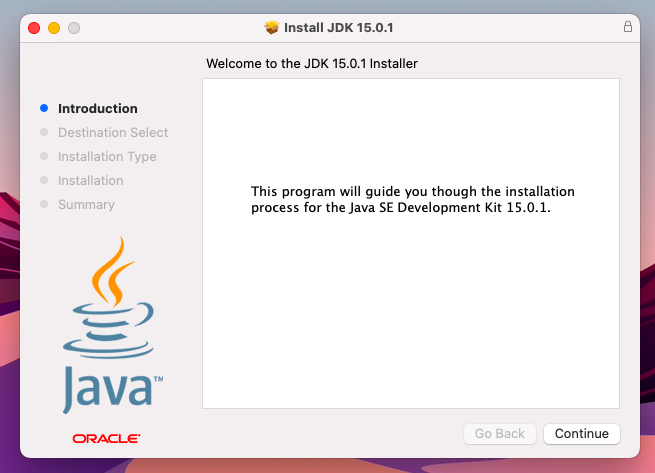
1a) Download and Install the latest JDK.
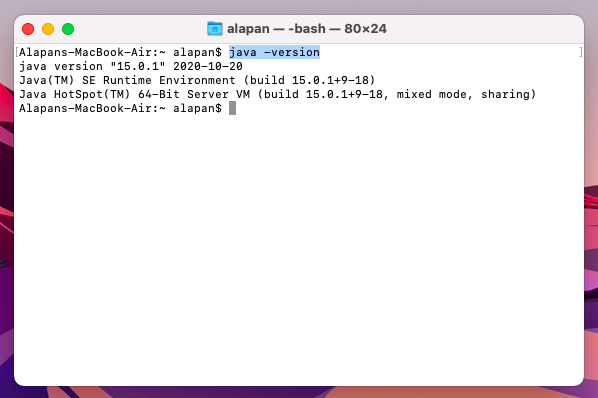
1b) Once installed, check the Java version by using the command java -version
1c) Next, to set the JAVA_HOME environment variable, open Terminal and go to the Home directory using the command:
1 | cd ~/ |
1d) Now, search for .bash_profile. In case if it’s not present, create it using the command:
1 | touch .bash_profile |
1e) To check whether the file was created or not, run:
1 | ls -al |

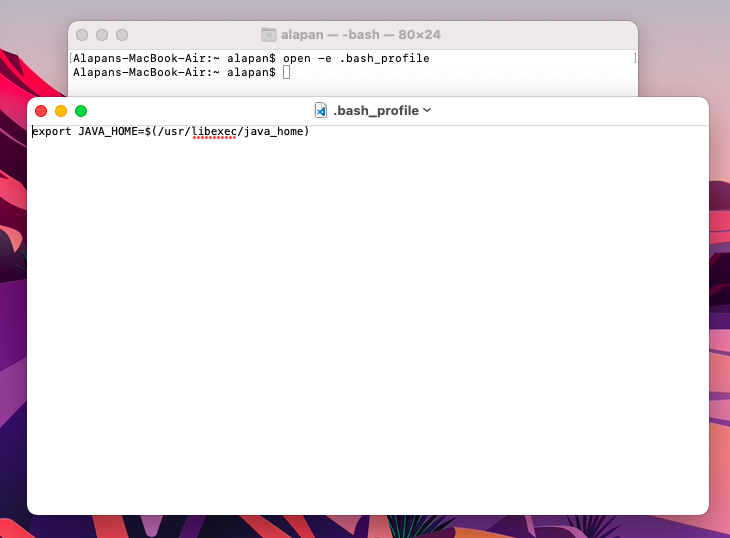
1f) Next, open the .bash_profile file in edit mode, using the command:
1 | open -e .bash_profile |
1g) Write the following and save it.
1 | export JAVA_HOME=$(/usr/libexec/java_home) |
1h) To check whether JAVA_HOME was set or not. Run the command:
1 | echo $JAVA_HOME |

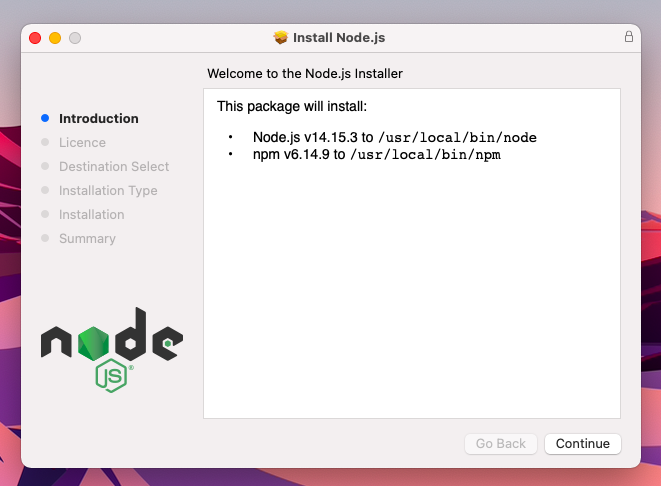
2. Install Node JS on your system.
3. Next step is to create our Project folder – NightwatchJS
4. Go to Terminal and using the cd command go inside the NightwachJS folder and then run the command:
1 | npm init |
It will ask for certain information, if you don’t want to provide any, just press Enter to move forward.
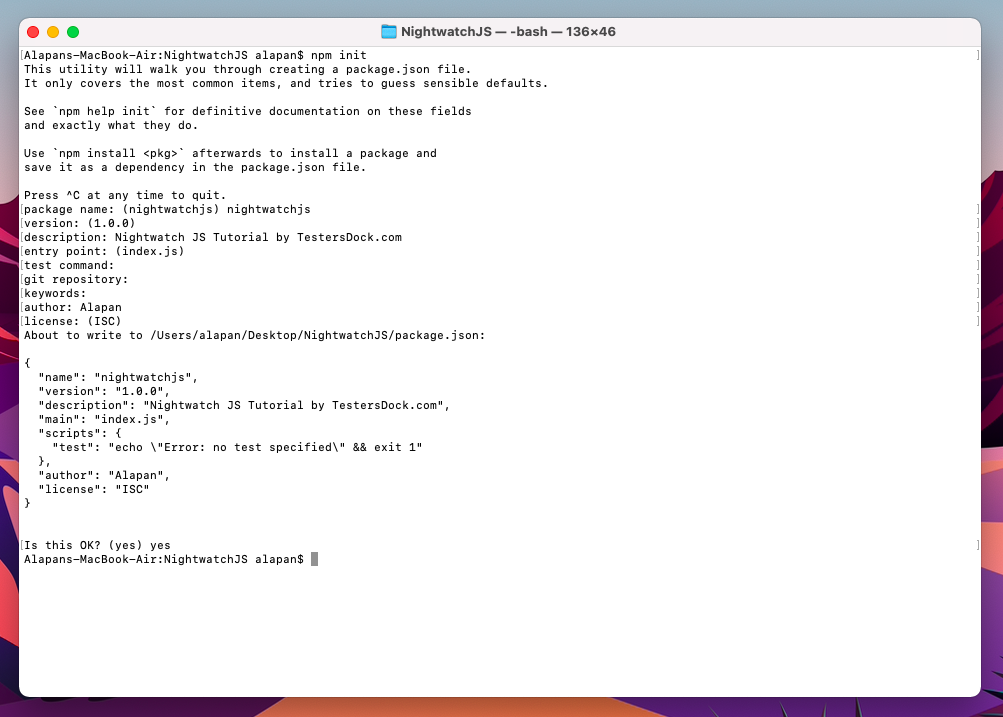
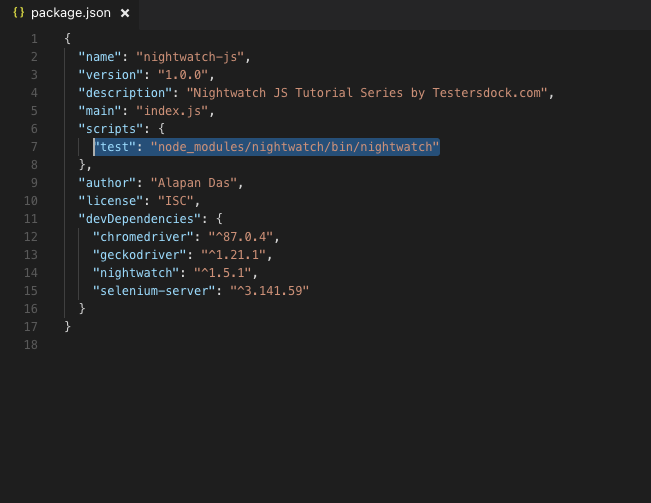
5. Once your package.json file is created, replace the value of test under scripts:
1 | "test": "node_modules/nightwatch/bin/nightwatch" |
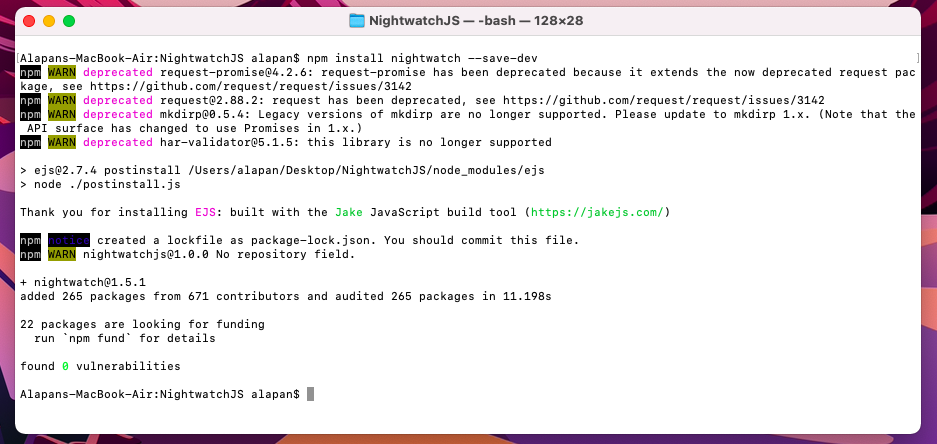
6. Next, step is to install Nightwatch. To install Nightwatch, go to terminal and run the command:
1 | npm install nightwatch --save-dev |
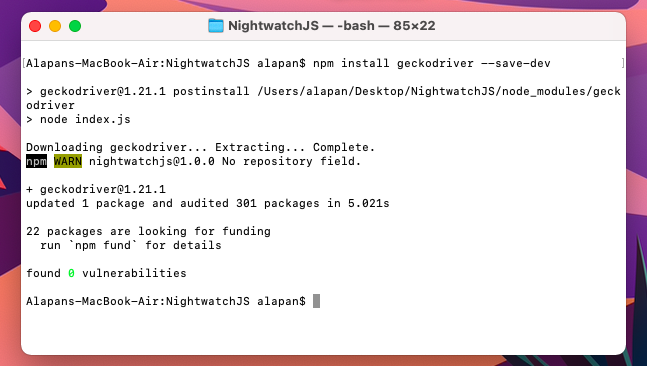
7. Next, we will install the Geckodriver by running the command:
1 | npm install geckodriver --save-dev |
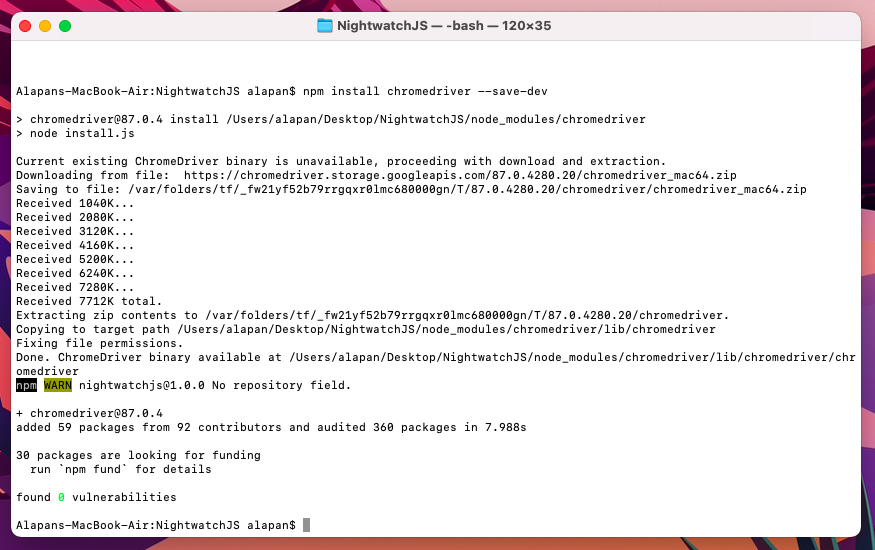
8. Next, we will install chromedriver by running the command:
1 | npm install chromedriver --save-dev |
9. Next, we will install the safari driver. This is for MAC users only. If you’ve Sierra and above, use the command:
1 | safaridriver --enable |
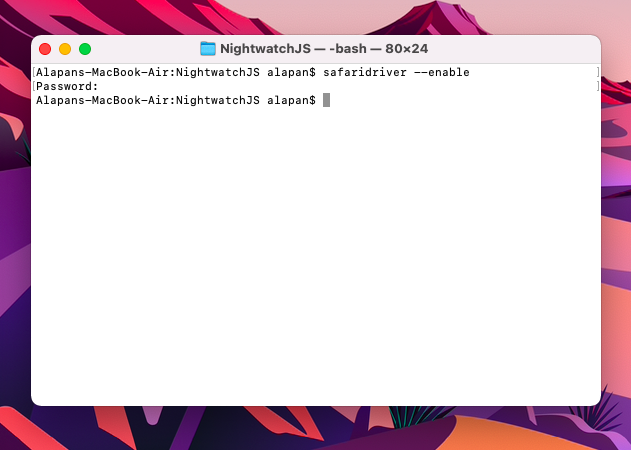
In case you have an OS below sierra, you can check out the Apple Developer Website.
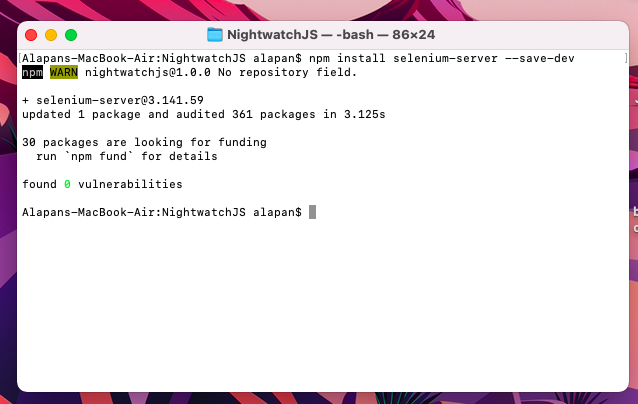
10. Next, we will install the Selenium server using the command:
1 | npm install selenium-server --save-dev |
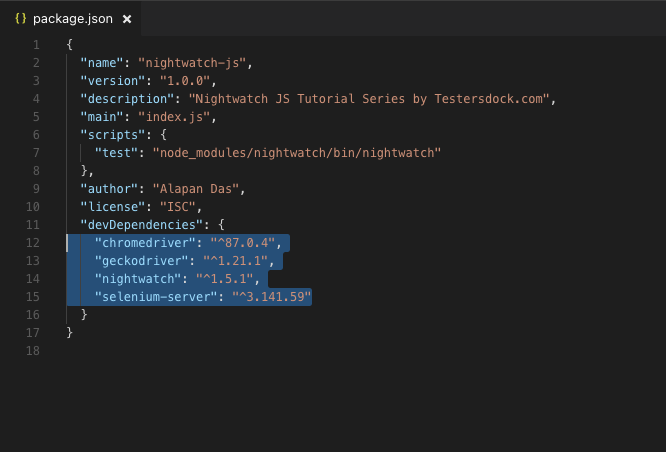
11. Once you’ve installed all the dependencies, in your package.json, under dev dependencies all the packages should be reflected:
12. Under NightwatchJS folder, create a file nightwatch.conf.js and write:
1 2 3 4 5 6 7 8 9 10 11 12 13 14 15 16 17 18 19 20 21 | module.exports = { // An array of folders (excluding subfolders) where your tests are located; // if this is not specified, the test source must be passed as the second argument to the test runner. src_folders: ["tests"], webdriver: { start_process: true, port: 4444, server_path: require('chromedriver').path, cli_args: [ ] }, test_settings: { default: { launch_url: 'https://nightwatchjs.org', desiredCapabilities: { browserName: 'chrome', } } } }; |

13. Next, create a folder named “tests” at the root level of NightwatchJS.
14. That’s it. Once you’ve completed all the above steps, your NightwatchJS folder should look like this:
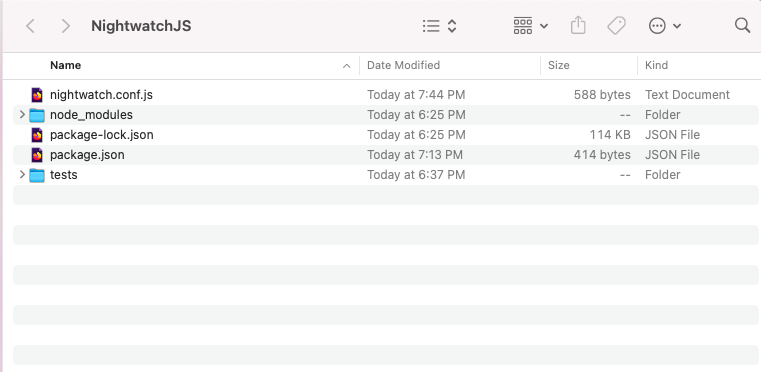
That’s it! We have successfully installed Nightwatch JS. In the next tutorial, we will write our first Automation script using Nightwatch.
Do check out 🙂
Github: https://github.com/alapanme/NightwatchJS
All Nightwatch JS Articles: https://testersdock.com/nightwatch-js-tutorial/


